Homemade Vanilla Cupcakes a Baking Essential
- Time: Active 15 minutes, Passive 20 minutes, Total 35 minutes
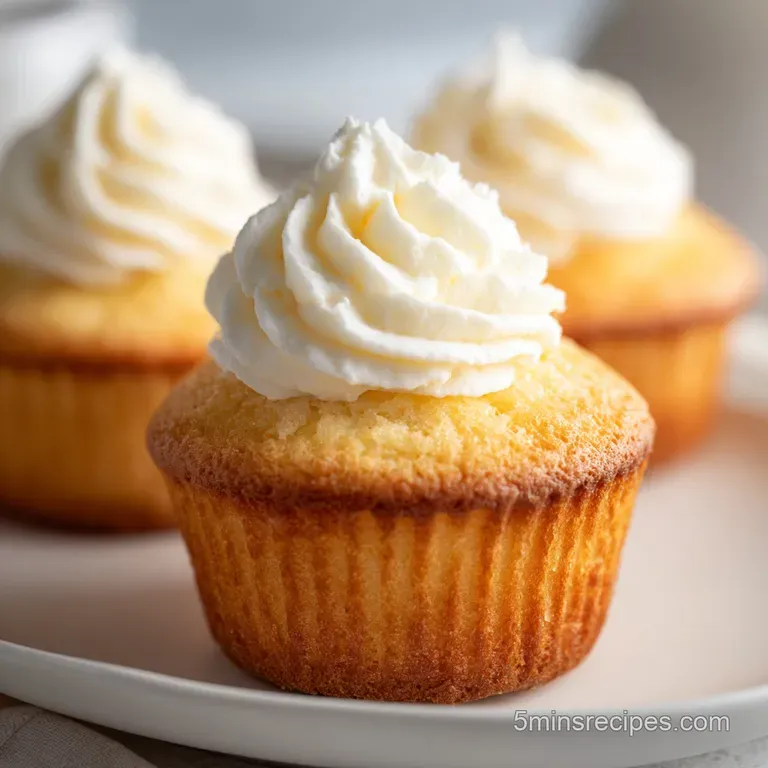
- Flavor/Texture Hook: Silky vanilla bean profile with a plush, cloud like crumb
- Perfect for: Birthday celebrations, afternoon tea, or beginner baking practice
- Master Homemade Vanilla Cupcakes A Baking Essential
- The Secret to the Velvety Crumb
- Classic vs Fast Baking Methods
- Component Analysis
- Sourcing Elements for Better Flavor Layers
- Essential Tools for a Simple Bake
- Step by Step Toward Golden Success
- Fixing Common Flaws in Your Bake
- Creative Variations for Your Sweet Treats
- Adjusting the Batch Size
- Kitchen Myths Debunked
- Keeping Your Treats Fresh for Days
- Professional Finishing Touches for Serving
- Recipe FAQs
- 📝 Recipe Card
Master Homemade Vanilla Cupcakes A Baking Essential
You know that specific, nostalgic scent that hits you the second you walk into a professional bakery? It is not just sugar, it is the deep, floral warmth of high-quality vanilla hitting a warm baking rack. I remember the first time I tried to make these from scratch.
I was about ten years old and decided I didn't need a recipe. I ended up with twelve flat, rubbery discs that smelled like a candle but tasted like a sponge. My dad still ate two of them just to be nice, but we ended up using the rest as "vanilla pucks" for a makeshift hallway hockey game.
Since that kitchen disaster, I have become obsessed with the architecture of the "simple" cupcake. It turns out that getting that velvety, tight crumb isn't about luck, it is about how you treat your fats and sugars.
We are moving away from the boxed mixes today because nothing beats the buttery, melt on-your tongue texture of a treat made with real sour cream and sifted cake flour. This version is my absolute go to because it is sturdy enough for a mountain of buttercream but soft enough to feel like a luxury.
The Secret to the Velvety Crumb
Acidic Tenderizing: The sour cream provides lactic acid which breaks down long gluten strands, ensuring the crumb remains plush rather than bready.
Fat Shielding: By using both butter for flavor and oil for moisture, we coat the flour particles in fat, which physically prevents water from over developing the gluten.
Classic vs Fast Baking Methods
| Method | Texture Result | Prep Effort | Best For |
|---|---|---|---|
| Classic Creaming | Airy and light | High (requires 5+ mins whisking) | Formal events/weddings |
| Reverse Creaming | Velvety and dense | Medium (mixing fats into dry) | Everyday celebrations |
| One Bowl Quick | Slightly coarse | Very Low (dump and stir) | Quick weeknight snacks |
The method we are using today leans into a hybrid approach. We want the flavor of the classic method but the reliability of a more modern technique. If you are looking for more breakfast inspired treats that use similar simple pantry staples, you might also enjoy my Pancake Breakfast Casserole recipe for your next brunch.
Component Analysis
| Ingredient | Science Role | Pro Secret |
|---|---|---|
| Cake Flour | Provides structure with low protein | Sift it twice to incorporate maximum air |
| Sour Cream | Adds moisture and fat without thinning batter | Use full fat for the most tender results |
| Unsalted Butter | Delivers the primary flavor profile | Keep it at 65°F (18°C) for ideal aeration |
| Baking Powder | Creates the chemical lift | Ensure it is less than 6 months old |
For a Velvety, Tight Crumb
The magic of these Homemade Vanilla Cupcakes A Baking Essential lies in the cake flour. Unlike all purpose flour, cake flour is milled much finer and has a lower protein content (usually around 6-8%).
This means when you mix your batter, there is less "strength" to the gluten, resulting in a crumb that feels like silk against your palate. If you use standard bread flour, you'll end up with a muffin, not a delicate sweet treat.
To Guarantee Lasting Moisture
Most people think butter is the only way to get a good cupcake, but butter actually firms up quite a bit at room temperature. By adding just 2 tablespoons of neutral oil, we ensure the cupcakes stay soft even if they have been sitting out on a party platter for a few hours.
This is the secret to that "bakery fresh" feel that lasts into the second day.
For Maximum Lift and Aeration
The eggs and sour cream must be at room temperature. If you drop cold eggs into your creamed butter, the butter will seize and create tiny clumps. This ruins the emulsion, and your cupcakes will have an uneven, greasy texture. I usually set my ingredients on the counter about an hour before I plan to start.
Sourcing Elements for Better Flavor Layers
To get started with this Homemade Vanilla Cupcakes A Baking Essential, gather these specific quantities. Trust me, the 2.5 tablespoons of cream in the frosting makes a world of difference compared to just using milk.
- 1 3/4 cups (190g) cake flour, sifted: Why this? Essential for the delicate, non bread like texture.
- 1 cup (200g) granulated sugar: Why this? Provides sweetness and helps with browning.
- 1 1/2 tsp baking powder: Why this? The primary leavening agent for that classic dome.
- 1/2 tsp salt: Why this? Balances the sugar and highlights the vanilla.
- 1/2 cup (113g) unsalted butter, softened: Why this? Provides the rich, traditional base flavor.
- 2 tbsp neutral oil (canola or vegetable): Why this? Keeps the crumb moist for several days.
- 2 large eggs, room temperature: Why this? Binds the ingredients and adds structure.
- 1/2 cup (120g) sour cream: Why this? Adds fat and acidity for a tender crumb.
- 1 tbsp pure vanilla extract: Why this? Use the good stuff; it is the star flavor.
- 1 cup (226g) unsalted butter, slightly cool (frosting): Why this? Slightly cool butter holds its shape better when piped.
- 3.5 cups (420g) powdered sugar, sifted (frosting): Why this? Sifting prevents those annoying lumps in your piping tip.
- 2.5 tbsp heavy cream (frosting): Why this? Creates a luxurious, whipped texture.
- 1 tsp vanilla extract (frosting): Why this? Reinforces the floral notes in the topping.
- 1 pinch fine salt (frosting): Why this? Cuts through the intense sweetness of the sugar.
| Original Ingredient | Substitute | Why It Works |
|---|---|---|
| Cake Flour | All Purpose + Cornstarch | 1 cup AP minus 2 tbsp, replaced with cornstarch mimics low protein. |
| Sour Cream | Full fat Greek Yogurt | Similar acidity and fat content. Note: Slightly tangier finish. |
| Heavy Cream | Whole Milk | Lower fat. Note: Frosting will be less stable and thinner. |
Essential Tools for a Simple Bake
You don't need a professional kitchen, but a few specific items make this Homemade Vanilla Cupcakes A Baking Essential much easier to execute. I highly recommend a kitchen scale for the flour; it is so easy to accidentally pack a measuring cup and end up with 20% too much flour.
- Standard 12 cup tin: Use a light colored metal tin to prevent the bottoms from browning too quickly.
- Stand mixer or hand mixer: Essential for getting the buttercream to that "cloud like" state.
- Sifter or fine mesh sieve: Do not skip this; lumpy flour is the enemy of a velvety cupcake.
- Large scoop: A 3 tablespoon cookie scoop ensures every cupcake is the exact same size.
- Paper liners: These protect the delicate sides of the cake from the direct heat of the tin.
Chef's Tip: If you find your cupcakes often have "muffin tops" that spill over, try filling every other well in the tin. This allows the heat to circulate more evenly around each cup, though it does take twice as long to finish the batch.
step-by-step Toward Golden Success
1. The Dry Start Emulsion
Sift the cake flour, granulated sugar, baking powder, and salt into your mixing bowl. Add the 1/2 cup of softened butter and 2 tablespoons of oil. Mix on low speed until the mixture looks like fine, sandy crumbs.
Note: This coats the flour in fat before any liquid is added, which is the best way to prevent a tough cupcake.
2. Incorporating the Aromatics
In a separate jug, whisk the eggs, sour cream, and 1 tablespoon of vanilla extract. Pour this mixture into your dry ingredients in three stages, mixing on medium speed for about 20 seconds after each addition until the batter is smooth and pale.
3. The Controlled Bake
Fill your lined tins about 2/3 full. Bake at 350°F (180°C) for 18 to 20 minutes until the tops spring back when lightly touched.
Note: Do not wait for them to turn dark brown; vanilla cupcakes should be a pale, golden straw color.
4. The Cooling Phase
Let the cupcakes sit in the hot tin for exactly 5 minutes, then move them to a wire rack. If you leave them in the tin too long, the steam will cause the liners to peel away from the sides.
5. Whipping the Buttercream
Beat the 1 cup of slightly cool butter for 5 full minutes until it looks nearly white and very fluffy. Add the powdered sugar one cup at a time, mixing on low so you don't end up in a sugar cloud.
6. Finishing the Frosting
Add the heavy cream, vanilla, and salt. Increase the speed to high and whip for another 2 minutes until the texture is silky and holds a stiff peak.
7. The Decorating Stage
Once the cupcakes are completely cool to the touch, use a piping bag or a simple palette knife to apply the frosting. If you want a more festive look for a party, you could use techniques similar to those in my Galentines Cake recipe for a pink or floral theme.
Fixing Common Flaws in Your Bake
Why My Cupcakes Sunk
If your cupcakes look great in the baking space but collapse the moment you take them out, you likely overbeat the batter once the liquids were added. This traps too much air, which expands rapidly and then fails because the structure isn't set.
Another culprit is opening the door too early that blast of cold air is a cupcake's worst nightmare.
For a Dry or Crumbly Texture
This usually happens from over baking. Every heat source is different, so start checking your Homemade Vanilla Cupcakes A Baking Essential at the 17 minute mark. If a toothpick comes out with a few moist crumbs, they are done! If it comes out bone dry, they have been in too long.
| Problem | Root Cause | Solution |
|---|---|---|
| Liners peeling off | Steam trapped after baking | Remove from tin after 5 mins to a wire rack. |
| Greasy bottoms | Butter was too melted | Ensure butter is "softened," not oily or shiny. |
| Holes in the cake | Too much air in batter | Tap the filled tin on the counter before baking. |
Common Mistakes Checklist ✓ Check that your baking powder hasn't expired (test it in a splash of vinegar). ✓ Ensure eggs are truly at room temperature (soak them in warm water for 5 mins if you forgot).
✓ Don't skip the sifting; cake flour is notorious for having dense clumps. ✓ Stop mixing the moment you see the last streak of flour disappear. ✓ Only fill the liners 2/3 full; any higher and they will overflow and sink.
Creative Variations for Your Sweet Treats
Once you have mastered the base, you can treat this Homemade Vanilla Cupcakes A Baking Essential recipe like a blank canvas.
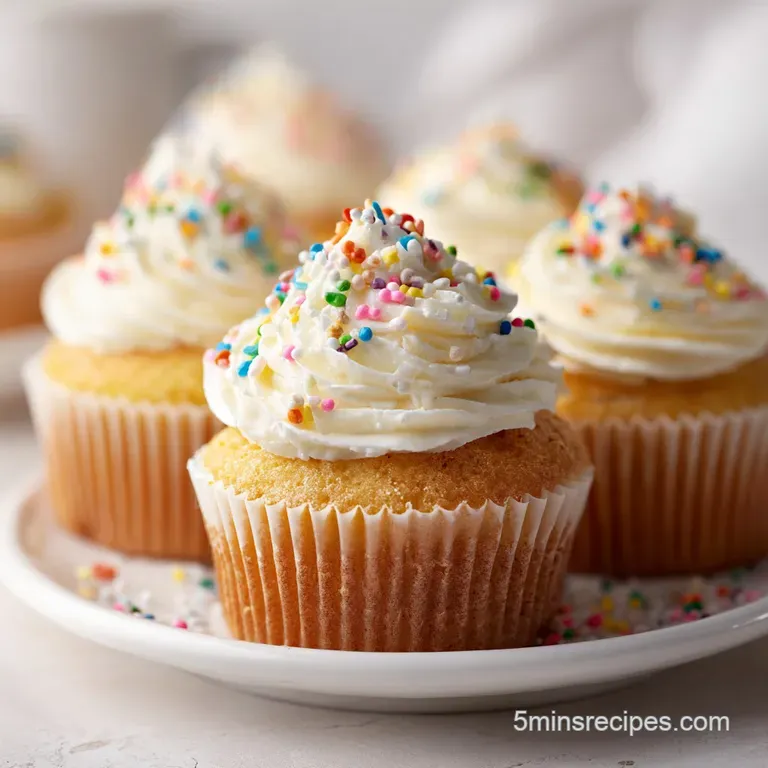
- For a Birthday Confetti Twist: Fold in 1/4 cup of rainbow sprinkles (the long jimmies work best) at the very end of the mixing process.
- For a dairy-free Alternative: Use a high-quality vegan butter stick and coconut cream in place of the sour cream. The texture will be slightly denser but still very rich.
- For an Infused Flavor: Scrape the seeds from one whole vanilla bean into the butter as you cream it. The tiny black specks make these look incredibly high end.
Adjusting the Batch Size
To Scale Down (Makes 6 cupcakes): Cut all ingredients exactly in half. For the eggs, beat one egg in a small bowl and use 2 tablespoons of the mixture to represent the "half egg," then add one full egg. Use a smaller pan and reduce the baking time by about 3 minutes.
To Scale Up (Makes 24 cupcakes): Double all ingredients, but keep the salt and baking powder at 1.75x the original amount to avoid a metallic aftertaste. You will need to bake these in two separate batches; do not try to crowd two tins onto one rack unless your baking space has excellent airflow.
| Servings | Flour Amount | Butter Amount | Pan Size |
|---|---|---|---|
| 6 Cupcakes | 95g (approx 7/8 cup) | 56g (1/4 cup) | 6 cup tin |
| 12 Cupcakes | 190g (1 3/4 cups) | 113g (1/2 cup) | 12 cup tin |
| 24 Cupcakes | 380g (3 1/2 cups) | 226g (1 cup) | 2 x 12 cup tin |
Kitchen Myths Debunked
Many people believe that "pure vanilla extract" and "vanilla essence" are the same thing. They are not. Essence is a synthetic chemical called vanillin, while extract is made by soaking real beans in alcohol.
For this Homemade Vanilla Cupcakes A Baking Essential, the chemical version will taste "flat" after being heated.
Another common myth is that you should always use the "convection" or "fan" setting for cakes. While great for roasting, the fan can actually blow the batter to one side, resulting in lopsided cupcakes. Stick to the standard bake setting for a level rise.
Keeping Your Treats Fresh for Days
Storage: Keep frosted cupcakes in an airtight container at room temperature for up to 2 days. If your kitchen is very warm, you can put them in the fridge, but let them sit out for 20 minutes before eating so the buttercream can soften back up.
Freezing: You can freeze the unfrosted bases for up to 3 months. Wrap each one tightly in plastic wrap and place them in a freezer bag. To thaw, just leave them on the counter for an hour.
I don't recommend freezing them with the frosting on, as the texture of the cream can become slightly grainy upon thawing.
Zero Waste Tip: If you have leftover buttercream, don't throw it away! It keeps in the fridge for a week. I love to sandwich it between two Graham crackers or use it as a dip for fresh strawberries.
If you have extra cupcake liners that are just taking up space, you can use them to hold snacks like nuts or grapes in a lunchbox.
Professional Finishing Touches for Serving
When it comes to serving these Homemade Vanilla Cupcakes A Baking Essential, presentation is half the battle. If you want that high end bakery look, use a large "open star" piping tip (like a Wilton 1M). Start in the center, move to the edge, and spiral back toward the middle.
These pair wonderfully with a sharp, fruity tea or a glass of cold milk. If you are serving these as part of a larger spread, they sit beautifully alongside a Biscuits and Gravy recipe for a classic "fancy" weekend gathering. Just make sure to wait until the very last second to add any sprinkles or garnishes so they don't bleed into the silky frosting. Trust me, once your friends taste the difference that sour cream and cake flour make, they will be asking you for the "secret" every time!

Recipe FAQs
Should I use oil or melted butter for the moistest cupcake?
Use both. Butter provides the essential rich flavor, but adding a small amount of neutral oil ensures the crumb remains soft and moist for days.
How to tell if my cupcakes are done without over baking them?
Gently touch the center lightly. If the surface springs back immediately without leaving an indentation, they are finished and should be removed from the oven.
Is it true I must use cake flour, or can I just use all-purpose?
No, cake flour is critical for the desired texture. Its lower protein content minimizes gluten development, giving you the signature velvety, non-bread like crumb.
How to make the buttercream frosting light and fluffy rather than dense?
Beat the softened butter alone for a full five minutes until it becomes pale. This initial creaming incorporates air before the heavy powdered sugar is introduced, creating a stable, airy base.
Why do my cupcakes sink after they come out of the oven?
False. Sinking is usually caused by under baking or opening the oven door too soon. The structure hasn't fully set yet, so a sudden temperature drop causes immediate collapse.
What is the role of sour cream in a vanilla cupcake recipe?
It tenderizes the crumb through acidity. The lactic acid in the sour cream subtly breaks down gluten strands, preventing the cake from becoming tough or chewy.
How to properly cool the cupcakes before frosting?
Allow the cupcakes to cool in the tin for exactly five minutes before transferring them to a wire rack. If you leave them in the hot tin longer, trapped steam will cause the paper liners to separate from the cake.
Essential Homemade Vanilla Cupcakes
Ingredients:
Instructions:
Nutrition Facts:
| Calories | 522 calories |
|---|---|
| Protein | 2.6g |
| Fat | 29.3g |
| Carbs | 64.5g |
| Fiber | 0.3g |
| Sugar | 51.6g |
| Sodium | 125mg |
