No Bake Energy Bites
- Time: Active 10 minutes, Passive 30 minutes, Total 40 minutes
- Flavor/Texture Hook: Chewy, nutty, and velvety with a dark chocolate snap
- Perfect for: Meal prep, pre workout fuel, or a quick afternoon pick me-up
- Simple Healthy Snacks: No Bake Energy Bites
- Reasons These Treats Win Daily
- Prep Times and Nutritional Details
- Essential Ingredients for Perfect Texture
- Tools Needed for Easy Mixing
- Clear Steps for Rolling Treats
- Solving Common Rolling Sticky Issues
- Creative Ways to Change Flavors
- Storing Your Treats Safely
- Creative Serving and Enjoyment Ideas
- Timing and Texture Success Tips
- Recipe FAQs
- 📝 Recipe Card
Simple Healthy Snacks: No Bake Energy Bites
Have you ever hit that mid afternoon wall where your brain feels like mush and your stomach won't stop growling? I used to reach for sugary lattes or those dusty granola bars hidden at the bottom of my bag, but they never quite did the trick.
Then I discovered the magic of making my own treats at home without even touching the dial on my stove.
Right then, let's talk about why this particular snack is a staple in my kitchen. We’re combining pantry staples into something that feels like a decadent truffle but acts like fuel.
The smell of floral honey mixing with the earthy, toasted scent of Bob's Red Mill oats is enough to make anyone forget they're "eating healthy." It's brilliant, really, how a few simple stirs can lead to such a satisfying result.
Trust me on this one: once you try a fresh batch, you'll never look back at those overpriced store-bought versions. We are aiming for a texture that is chewy, not crumbly, and sweet without being cloying. Let’s get stuck into the details and see how these no bake energy bites come together in no time at all.
Reasons These Treats Win Daily
One of the biggest wins here is the lack of "kitchen sweat." Since we aren't using the oven, we don't have to worry about hot spots, burning the bottoms, or heating up the whole house during the summer. It’s a pure assembly job that rewards you with consistent results every single time you make them.
This recipe also solves the "sogginess" problem that plagues many homemade bars. By using Old-fashioned rolled oats instead of quick oats, we maintain a structural integrity that provides a satisfying "shatter" when you bite into the mini chocolate chips.
It is a texture first snack that keeps things interesting for your palate.
Honestly, don't even bother with low-fat peanut butter or sugar-free syrups here. The full fat natural peanut butter provides the essential lipids needed to keep you full, while the raw honey acts as a natural humectant, keeping the bites moist for days. It's similar to the quick satisfaction of a 5 Minute Mug recipe but designed to last you the whole week.
1. Capillary Action in Oats
Old-fashioned oats act like tiny sponges through a process called capillary action. When mixed with honey and peanut butter, the liquid enters the small pores of the oat flakes, softening them without making them mushy.
2. Saturated Fat Stabilization
The fats in the creamy peanut butter are semi solid at room temperature but firm up significantly when chilled. This cold induced stabilization is what allows the bites to hold their spherical shape without the need for flour or eggs.
3. Controlled Fiber Hydration
Chia seeds and ground flaxseed meal are mucilaginous, meaning they form a gel when they come into contact with moisture from the vanilla and honey. This gel binds the smaller crumbs together, creating a cohesive dough that won't fall apart in your hand.
Prep Times and Nutritional Details
| Feature | Hand Rolled (Fresh) | store-bought (Shortcut) |
|---|---|---|
| Texture | Chewy and soft | Often dry and brittle |
| Preservatives | Zero additives | High sodium and stabilizers |
| Cost | Pennies per bite | $2.50+ per individual serving |
The difference between fresh and shortcut versions is mostly found in the moisture content. Commercial bites are often shelf stabilized with extra salts and sugars, which can leave a metallic aftertaste. By making them yourself, you control the quality of the fats and the intensity of the sweetness.
Essential Ingredients for Perfect Texture
The success of these treats depends entirely on the quality of your binders. I always reach for Smucker’s Natural Creamy Peanut Butter because it lacks the extra palm oils that can make the mixture too greasy.
The Foundation
- 2 cups (180g) Old Fashioned Rolled Oats: These provide the essential bulk and fiber. Why this? Rolled oats maintain their shape better than instant oats, providing a superior chew.
- 1/2 cup (65g) Ground Flaxseed Meal: Adds a nutty depth and binds the dry ingredients. Why this? It provides a "glue" effect that replaces the need for eggs or baking.
- 2 tbsp (20g) Chia Seeds: These add a subtle crunch and a boost of omega-3s. Why this? They absorb excess moisture, preventing the bites from becoming too sticky.
The Binding Agents
- 1 cup (250g) Creamy Natural Peanut Butter: Use a brand like Jif or a stir natural variety. Why this? The high fat content is the primary structural stabilizer for the recipe.
- 1/2 cup (170g) Raw Honey: Acts as the primary sweetener and liquid binder. Why this? Honey is stickier than maple syrup, ensuring the balls stay rolled tight.
The Flavor Accents
- 1 tsp (5ml) Pure Vanilla Extract: Use Nielsen Massey for the best floral aroma. Why this? It bridges the gap between the salty peanut butter and sweet honey.
- 1/2 cup (90g) Mini Dark Chocolate Chips: Ghirardelli mini chips distribute better than large ones. Why this? Smaller chips ensure you get chocolate in every single bite without overwhelming the texture.
- 1/4 tsp (1.5g) Fine Sea Salt: Morton sea salt helps balance the sugars. Why this? It heightens the perception of the chocolate and peanut butter flavors.
| Original Ingredient | Substitute | Why It Works |
|---|---|---|
| Raw Honey | Maple Syrup (Grade A) | Similar viscosity. Note: Balls will be slightly softer and may require longer chilling. |
| Peanut Butter | Almond Butter | High monounsaturated fat. Note: Changes flavor profile to a more toasted, neutral nuttiness. |
| Rolled Oats | Quinoa Flakes | Similar size and absorption. Note: Adds a slightly bitter, earthy note and increases protein. |
Tools Needed for Easy Mixing
You don't need a high end stand mixer for this, though a KitchenAid can certainly make quick work of the heavy dough. I prefer using a large glass mixing bowl so I can see if any pockets of dry flax or oats are hiding at the bottom.
A sturdy silicone spatula is your best friend here. The mixture is incredibly thick and sticky wooden spoons can sometimes snap if the peanut butter is particularly cold. You'll also want a small cookie scoop (about 1 tablespoon size) to ensure every bite is uniform.
This isn't just for aesthetics; uniform size means they all chill at the same rate.
Finally, keep some parchment paper or a Silpat mat handy. Rolling these directly onto a plate usually results in a sticky mess that’s hard to clean. If you want to be extra precise, a digital kitchen scale helps you hit that 30 gram sweet spot for each ball.
Clear Steps for Rolling Treats
- Combine the dry base. Place your 180g of rolled oats, 65g of ground flax, 20g of chia seeds, and 1.5g of sea salt into your bowl. Note: Mixing the dry bits first prevents clumps of salt or flax later.
- Incorporate the wet binders. Pour in 250g of creamy peanut butter, 170g of raw honey, and 5ml of vanilla extract. Listen for the squelch as the spatula folds the honey into the oats.
- Fold in the chocolate. Add 90g of mini dark chocolate chips last. Note: Adding them now prevents the friction of mixing from melting the chocolate.
- Check the consistency. Stir until no dry white streaks of oats remain. The mixture should feel heavy and slightly tacky to the touch.
- Chill the dough. Cover the bowl and place it in the fridge for 30 minutes. Observe the change in aroma as the vanilla becomes more pronounced while the mixture cools.
- Prepare your station. Line a baking sheet with parchment paper and get a small bowl of cold water for your hands.
- Scoop the portions. Use a small scoop to portion out roughly 21 pieces. Note: Aim for roughly 30 grams per ball for consistent snacking.
- Roll with pressure. Compress the mixture firmly in your palm before rolling it into a sphere. Feel the velvety texture as the oils from the peanut butter coat the oats.
- Arrange and set. Place the finished no bake energy bites on the parchment, ensuring they don't touch.
- Final set. Let them rest in the fridge for another 10 minutes to firm up from the warmth of your hands.
Chef's Tip: If your peanut butter is very stiff, microwave the honey and peanut butter together for 15 seconds before adding to the oats. This lowers the viscosity and makes stirring much easier on your wrists.
Solving Common Rolling Sticky Issues
If you find that the mixture is falling apart as you roll, don't panic. This usually happens if the oats were particularly dry or if the peanut butter had a lower oil content. The fix is simple: add a teaspoon of honey at a time until it holds.
On the flip side, if the "dough" is sticking to your palms like glue, it might be too warm. The friction from your hands melts the fats in the nut butter. Using the cold water trick lightly dampening your hands creates a microscopic barrier that lets the ball slide right into shape.
1. Solution for Crumbly Mixtures
A crumbly texture usually means the ratio of dry to wet is off. This can happen if you used "heaping" cups of oats instead of level ones. Add a tiny bit more peanut butter to act as additional mortar for your oat bricks.
2. Fixing Overly Sticky Dough
If you can't get the mixture off your fingers, it needs more "dry" surface area. Add a tablespoon of extra flaxseed meal. It's more absorbent than oats and will quickly soak up the excess honey without changing the flavor too much.
3. Preventing Chocolate Melt
If you're making these in a warm kitchen, the mini chips can smear and turn the whole ball brown. Always ensure the mixture is thoroughly chilled before adding the chocolate, and work quickly during the rolling phase.
| Problem | Cause | Solution | Pro Tip |
|---|---|---|---|
| Falling apart | Too many dry oats | Add 1 tbsp honey | Pulse half the oats in a blender first |
| Greasy surface | Separated peanut butter | Chill for 1 hour | Use "no stir" nut butter styles |
| Too sweet | Honey variety | Add pinch of salt | Use Raw or Manuka honey for depth |
Creative Ways to Change Flavors
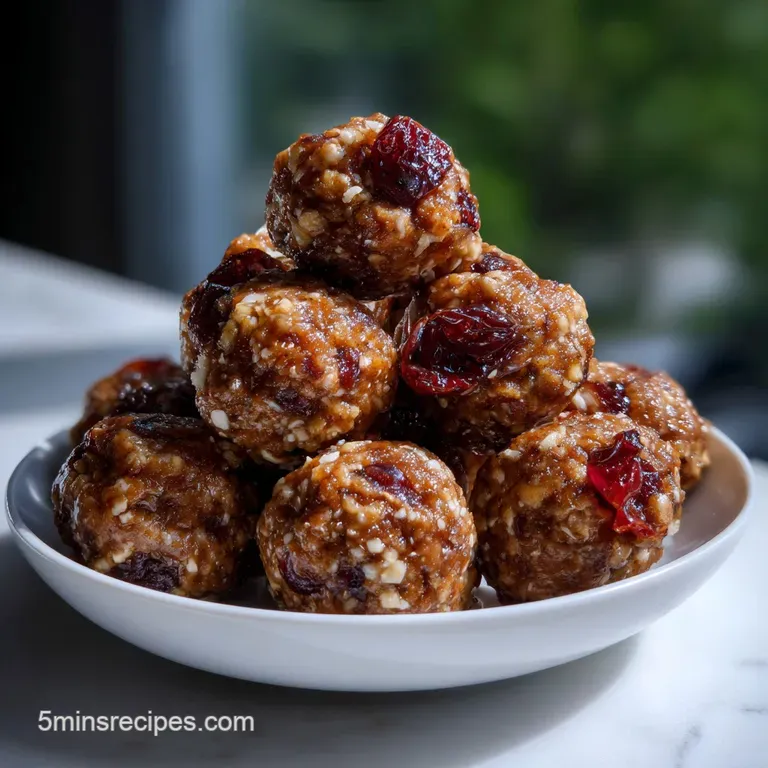
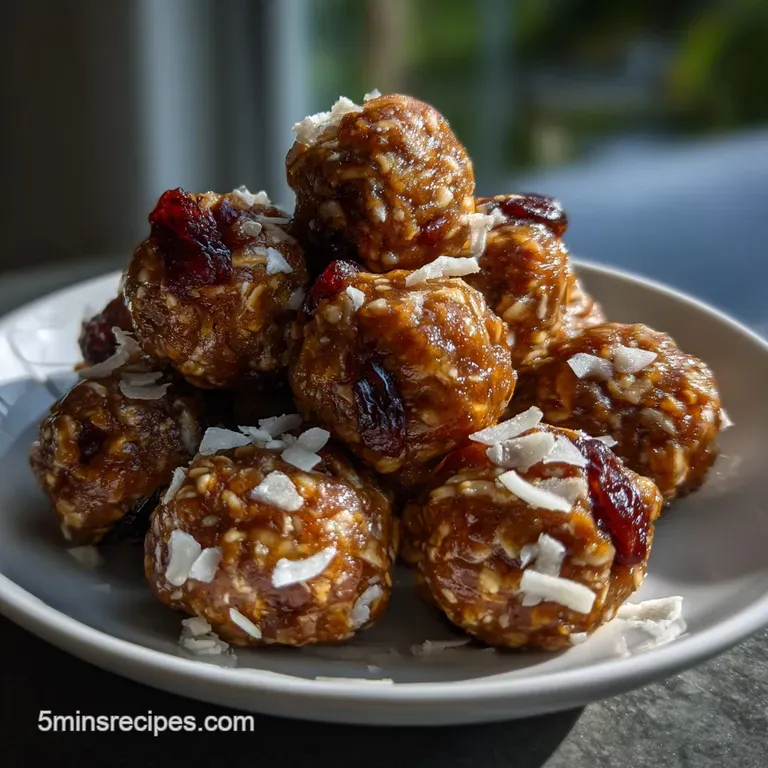
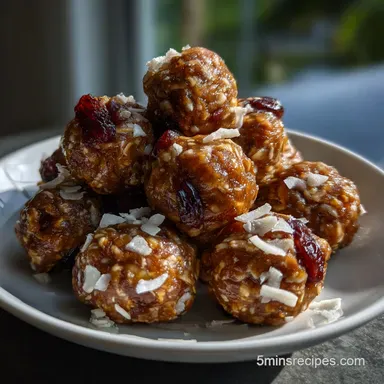
Once you've mastered the base recipe for these no bake energy bites, you can treat it like a canvas. I love swapping out the mini chips for dried cranberries or chopped apricots when I want something more tart. The key is keeping the ratios of "bits" to "binder" the same so they don't lose their structure.
For a bit of a kick, try adding a half teaspoon of cinnamon or even a dash of espresso powder. The coffee notes pair beautifully with the dark chocolate and peanut butter, making them feel like a sophisticated dessert.
If you’re feeling adventurous, a tablespoon of unsweetened cocoa powder added to the dry mix turns these into "double chocolate" bites.
1. Almond Mocha Twist
Swap peanut butter for almond butter and add 1 teaspoon of finely ground espresso beans. This variation provides a more sophisticated, less "childhood snack" flavor that pairs perfectly with a morning cup of coffee.
2. Tropical Sunburst
Replace the chocolate chips with 1/4 cup shredded coconut and 1/4 cup dried pineapple bits. This version is lighter and works well for summer hikes when you want something refreshing rather than heavy.
3. Nut Free Alternative
If you have a nut allergy in the house, sunflower seed butter (SunButter) is an excellent 1:1 replacement for peanut butter. It has a slightly more "toasty" and earthy flavor but binds just as effectively.
Storing Your Treats Safely
These bites are surprisingly resilient, but they do best when kept cold. In the refrigerator, they’ll stay fresh and chewy for up to 2 weeks in an airtight container like a Tupperware or a glass Stasher bag. If you leave them on the counter, the honey can begin to weep, making them a bit sticky after a few hours.
For long term prep, these are incredible freezer candidates. I usually make a double batch and toss half into a freezer safe bag. They stay good for up to 3 months. The best part? You can eat them straight from the freezer they don't freeze into rocks, but rather take on a fudge like consistency that is quite addictive.
To reduce waste, keep the "oat dust" at the bottom of the container. It’s packed with flax and chia. I like to sprinkle those leftover crumbs over my morning yogurt or oatmeal so nothing goes to waste.
Creative Serving and Enjoyment Ideas
While most people grab these and run out the door, there are ways to make them feel more like a proper treat. Try dipping half of each ball into melted dark chocolate and letting it set it turns them into something you could easily serve at a brunch or a casual dinner party.
They also make a great "crouton" for smoothie bowls. Instead of just granola, slice a couple of these no bake energy bites in half and nestle them into a thick acai or green smoothie. The contrast between the icy smoothie and the chewy bite is a total winner for breakfast.
If you're taking them on a hike, pack them in a hard sided container rather than a bag. Even though they're sturdy, a heavy water bottle in your backpack can turn your beautiful spheres into a single "energy pancake" if you aren't careful.
Timing and Texture Success Tips
The most common question I get is about the oats "Do I really not have to cook them?" The answer is a firm no. The moisture from the honey and the fats from the peanut butter "cook" the oats through saturation. This is similar to how overnight oats work, just with less liquid.
Another tip for success is to check your honey. If your honey has crystallized (turned hard and grainy), melt it down before using. Those sugar crystals won't dissolve into the peanut butter, and you'll end up with a gritty texture that detracts from the velvety feel of the bite.
Finally, give them the full 30 minutes in the fridge. I know it’s tempting to start rolling immediately, but that rest period allows the fiber in the flax and oats to fully hydrate. A rested dough is a cooperative dough. If you rush it, you'll end up with sticky hands and lumpy bites.
- If you want a firmer bite, replace 1/4 cup of the oats with extra flaxseed meal.
- If you want a softer, fudge like bite, increase the peanut butter by 2 tablespoons.
- If you want extra crunch, use "Extra Crunchy" peanut butter instead of creamy.
Making these no bake energy bites is all about finding that balance between the sticky and the structural. It's a forgiving process, so don't be afraid to adjust the moisture as you go. Once you find your perfect ratio, you'll have a reliable, healthy snack that beats anything you can find in a wrapper.
Enjoy the process, and definitely lick the spoon it's the best part of no bake cooking!

Recipe FAQs
Can I use quick oats instead of old-fashioned rolled oats?
No, stick to rolled oats. Quick oats absorb moisture too fast, which often leads to a mushy, pasty texture instead of the desired chewiness.
How long will these energy bites last if stored correctly?
Yes, they freeze well for up to 3 months. Stored in an airtight container in the refrigerator, they remain fresh and chewy for about two weeks.
What is the best substitution for peanut butter if there is an allergy?
Use sunflower seed butter (SunButter) for a direct swap. It maintains a similar fat content and binding structure without altering the overall texture too significantly.
Do I need to chill the mixture before rolling them into balls?
Yes, chilling for 30 minutes is essential. This rest period allows the oats and flaxseed meal to properly hydrate and firm up the dough, preventing excessive stickiness during rolling.
My mixture is too crumbly; how can I fix it right before rolling?
Add a small amount of extra binder. Mix in one teaspoon of honey or creamy peanut butter at a time until the dough holds together firmly when pressed.
Can I replace the honey with maple syrup as the sweetener?
Yes, maple syrup works as a substitute. Note that the resulting bites may be slightly softer and might require a longer chilling time to achieve the same stability as those made with stickier honey.
Is it necessary to use natural peanut butter without added oils?
It is highly recommended for best results. Natural peanut butter has the essential fats needed for stabilization when chilled, whereas added stabilizers can sometimes make the final product greasy.
No Bake Energy Bites Recipe
Ingredients:
Instructions:
Nutrition Facts:
| Calories | 170 kcal |
|---|---|
| Protein | 5.0 g |
| Fat | 9.5 g |
| Carbs | 18.3 g |
| Fiber | 3.0 g |
| Sugar | 8.8 g |
| Sodium | 42 mg |
