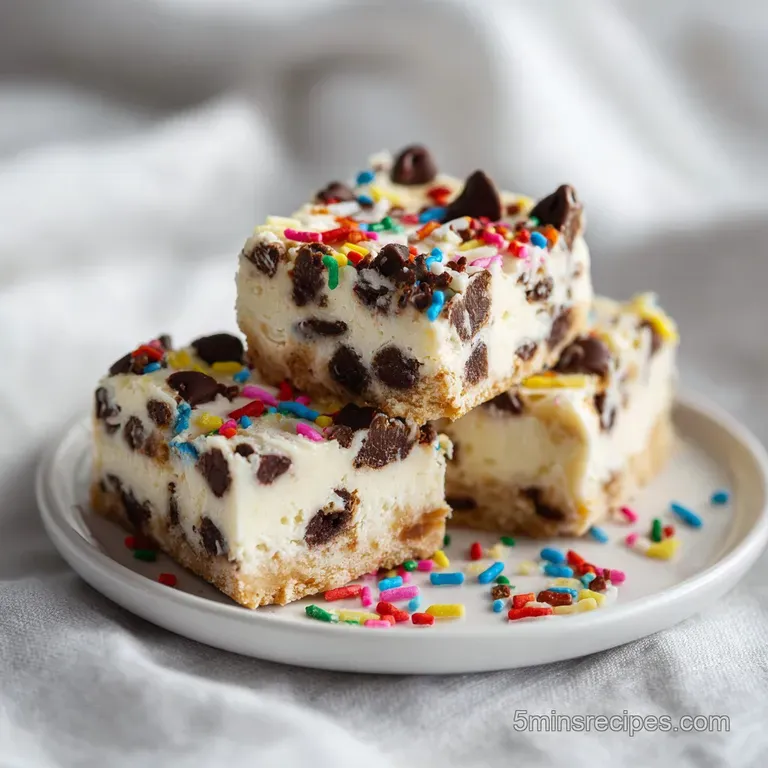
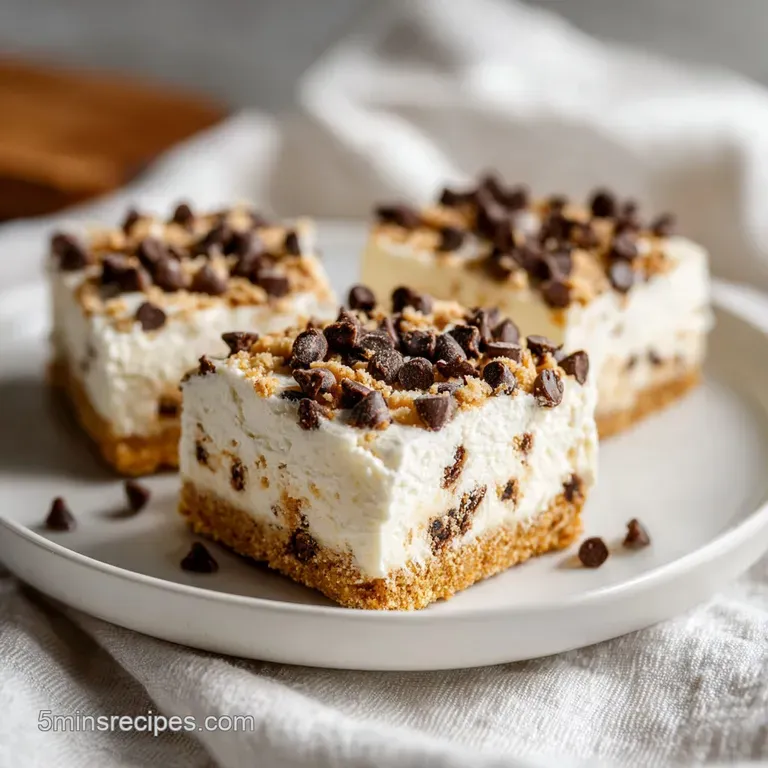
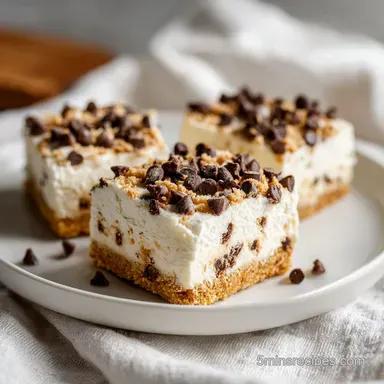
Easy Nobake Chocolate Chip Cheesecake Bars
- Time: Active 15 minutes, Passive 4 hours, Total 4 hours 15 mins
- Flavor/Texture Hook: Silky smooth filling with a crunching graham base
- Perfect for: Summer parties, stress free hosting, or beginner bakers
- The Best Easy NoBake Chocolate Chip Cheesecake Bars
- Chemistry of the No Bake Set
- Deep Dive into Components
- Choosing Your Best Elements
- Essential Kitchen Tools
- The Step-by-Step Process
- Fixing Common Texture Issues
- Adjusting for Large Crowds
- Debunking Common Kitchen Beliefs
- Freshness and Practical Tips
- Serving Like a Pro
- Recipe FAQs
- 📝 Recipe Card
The Best Easy NoBake Chocolate Chip Cheesecake Bars
Imagine the sharp, sweet aroma of vanilla hitting your nose the second you unwrap a chilled pan. You press a knife through a velvety white layer, feeling that satisfying "thwack" as it hits the buttery graham cracker base.
I remember the first time I attempted these for a humid July block party; the oven was out of commission, and I was terrified the bars would turn into a puddle. Instead, they were the first thing to vanish, leaving only a few stray mini chocolate chips behind.
We've all been there staring at a recipe that demands a water bath and three hours of oven monitoring. This is the opposite of that stress. It is a reliable, straightforward method for capturing that rich cheesecake tang without the fear of cracks or sinking centers.
You are going to love how the cold cream holds everything together, creating a bite that is dense enough to feel indulgent but light enough to keep you reaching for a second bar.
Trust me, once you nail the balance of the folding technique, you’ll never go back to the baked version during the summer months. We are focusing on simple, high-quality ingredients that do the heavy lifting for us. It is all about the texture here no rubbery gelatin, just pure, creamy bliss.
Let's crack on with the science of why this works so well.
Chemistry of the No Bake Set
Understanding how these bars stay upright without eggs is the secret to getting that professional finish every single time.
- Fat Phase Stabilization: The combination of cold heavy cream and room temperature cream cheese creates a stable fat matrix that holds air bubbles in place.
- Hygroscopic Balance: Powdered sugar contains a small amount of cornstarch, which absorbs excess moisture from the cream cheese to prevent weeping.
- Starch Hydration: Graham cracker crumbs absorb the melted butter, creating a lipid bound "shatter" crust that remains crisp instead of soggy.
- Lipid Solidification: Chilling the mixture below 40°F (4°C) causes the butter and dairy fats to firm up, acting as a natural glue for the bars.
| Method Type | Texture Result | Prep Effort | Best Used For |
|---|---|---|---|
| Traditional Bake | Dense, custard like | High (water bath) | Formal dinner events |
| No Bake Shortcut | Light, mousse like | Minimal (chilled) | Casual gatherings |
| Gelatin Set | Firm, jelly like | Medium (blooming) | Long distance transport |
The choice between methods usually comes down to the humidity in your kitchen and how much time you have. If you're looking for something that feels more like a decadent treat than a heavy meal, the no bake route is the clear winner. Much like my favorite NoBake Chocolate Trifle recipe, this dish relies on chilling to build its character rather than heat.
Deep Dive into Components
| Ingredient | Science Role | Pro Secret |
|---|---|---|
| Cream Cheese | Provides structural protein | Always use full fat bricks, never tub spreads. |
| Heavy Cream | Incorporates air for lift | Ensure it is icy cold to maximize volume. |
| Powdered Sugar | Sweetens and stabilizes | Sift it twice to avoid tiny gritty lumps. |
| Graham Crumbs | Creates the solid base | Pulse them finely for a tighter, cleaner crust. |
Using the right type of dairy is non negotiable here. low-fat versions have higher water content, which will lead to a grainy or runny texture that won't hold its shape when sliced. If you find yourself enjoying the process of making these chilled desserts, you might also want to try this Chocolate Cream Pie Recipe which uses a similar stabilization technique.
Choosing Your Best Elements
To make these Easy NoBake Chocolate Chip Cheesecake Bars, you'll need to gather a few pantry staples. Each one plays a specific part in the final flavor profile.
- 1.5 cups graham cracker crumbs: Why this? Provides the classic honeyed crunch that balances the tangy filling. (Substitute: Digesitve biscuits)
- 6 tbsp unsalted butter, melted: Why this? Acts as the binder for the crust crumbs. (Substitute: Salted butter, but omit the extra salt)
- 2 tbsp granulated sugar: Why this? Adds a hint of sweetness to the base layer. (Substitute: Brown sugar for a caramel note)
- 0.25 tsp sea salt: Why this? Sharpens the flavors of the chocolate and cream. (Substitute: Table salt)
- 16 oz full fat brick style cream cheese, softened: Why this? The anchor of the entire dessert; must be full fat. (Substitute: Mascarpone for a richer, less tangy taste)
- 1 cup powdered sugar, sifted: Why this? Dissolves instantly for a velvety mouthfeel. (Substitute: Granulated sugar pulsed in a blender)
- 1 tsp pure vanilla extract: Why this? Adds the signature "bakery" aroma. (Substitute: Vanilla bean paste)
- 1 cup heavy whipping cream, cold: Why this? Provides the necessary fluff and volume. (Substitute: Pre whipped topping, though the flavor will change)
- 1 cup mini semi sweet chocolate chips: Why this? Small chips ensure chocolate in every single bite. (Substitute: Finely chopped dark chocolate)
Essential Kitchen Tools
You don't need a professional kitchen, but a few specific tools will make your life much easier. First, an 8x8-inch square baking pan is the standard for this recipe to get that perfect bar height. I highly recommend lining it with parchment paper, leaving an overhang on the sides.
This "sling" allows you to lift the entire block out once it's set, making slicing a breeze.
A stand mixer or a powerful hand mixer is also vital. You’re looking to whip the heavy cream to stiff peaks, which takes some muscle if you're doing it by hand. Finally, a flexible silicone spatula is your best friend for the "folding" stage it allows you to combine the heavy cream and cheesecake base without deflating all those lovely air bubbles you just worked so hard to create.
The step-by-step Process
Right then, let's get into the actual making. Follow these steps closely, and pay attention to the sensory cues to know you're on the right track.
- Prepare the pan. Line an 8x8 pan with parchment paper. Note: Leave a 2 inch overhang to lift the bars out later.
- Combine the crust. Mix 1.5 cups graham cracker crumbs, 6 tbsp melted butter, 2 tbsp sugar, and 0.25 tsp salt until it looks like wet sand.
- Press the base. Firmly pack the mixture into the bottom of the pan. Note: Use the bottom of a measuring cup for an even, flat surface.
- Chill the crust. Place the pan in the freezer for 10 minutes. Wait until it feels solid and cold to the touch.
- Cream the cheese. Beat 16 oz softened cream cheese and 1 cup powdered sugar in a large bowl. Note: Stop when the mixture is completely smooth and no lumps remain.
- Add aromatics. Mix in 1 tsp vanilla extract. Listen for the motor to remain steady as the cream cheese lightens.
- Whip the cream. In a separate chilled bowl, beat 1 cup heavy cream until stiff peaks form. Watch for the cream to hold its shape when the whisk is lifted.
- Fold the mixture. Gently fold the whipped cream into the cream cheese base using a spatula. Note: Use a "cut and fold" motion to keep the air inside.
- Incorporate the chips. Toss in 1 cup mini semi sweet chocolate chips and give it one final, gentle stir.
- Set the bars. Spread the filling over the crust and smooth the top. Smell the sweet, milky aroma as you level the surface.
- The Cold Cure. Refrigerate for at least 4 hours. The bars are ready when the center doesn't jiggle when the pan is nudged.
Chef's Tip: Freeze your mixing bowl and whisk attachment for 15 minutes before whipping the heavy cream. This ensures the fat stays cold, leading to much stiffer, more stable peaks.
Fixing Common Texture Issues
Even the best of us run into trouble sometimes. The main culprit in no bake desserts is usually temperature control. If your cream cheese isn't soft enough, you'll get lumps. If your heavy cream isn't cold enough, it won't whip.
Fixing Lumpy Filling
If you see tiny white specks of unmixed cream cheese, your cheese was likely too cold when you started. You can try to fix this by using a whisk to vigorously beat the cream cheese and sugar before you add the whipped cream. If you've already added the cream, don't over mix, or you'll lose the fluffiness.
It’s better to have a few tiny lumps than a flat, runny bar.
Fixing Soft Centers
If you cut into the bars and they start to slump, they haven't chilled long enough. The fat needs time to fully solidify. If you're in a rush, you can pop the pan into the freezer for 30 to 45 minutes to "flash set" the bars, but nothing beats a long, slow chill in the fridge.
| Problem | Root Cause | Solution |
|---|---|---|
| Gritty Texture | Sugar didn't dissolve | Always use sifted powdered sugar instead of granulated. |
| Crumbly Base | Not enough butter or pressure | Press the crumbs harder and ensure butter coats every grain. |
| Runny Filling | Under whipped cream | Whip cream until it stands straight up on the whisk. |
Common Mistakes Checklist: ✓ Using "spreadable" cream cheese from a tub (it's too thin). ✓ Forgetting to sift the powdered sugar, leading to lumps. ✓ Over mixing during the folding stage, which kills the aeration. ✓ Cutting the bars before the full 4 hour chill time.
✓ Using a warm knife, which can tear the velvety top layer.
Adjusting for Large Crowds
Scaling this recipe is fairly simple because it doesn't involve complex baking ratios. If you want to double the recipe, use a 9x13-inch pan. This will give you about 32 smaller bars or 24 very large ones.
When doubling, you don't need to double the salt about 1.5 times the original amount (around 1/3 tsp) is usually enough to balance the flavors.
For a smaller batch, you can halve all the ingredients and use a standard loaf pan. If you're halving the recipe and struggle to measure half an egg in other recipes, you're in luck here since there are no eggs, the math is straightforward.
Just ensure you still chill the smaller batch for at least 3 hours to ensure it is fully set through the center.
| Servings | Pan Size | Ingredient Adjustment | Chill Time |
|---|---|---|---|
| 8 People | Loaf Pan | 0.5x Recipe | 3 hours |
| 16 People | 8x8 Square | 1x Recipe (Standard) | 4 hours |
| 32 People | 9x13 Pan | 2x Recipe | 5 hours |
Debunking Common Kitchen Beliefs
One myth that drives me crazy is that you must use gelatin to get a no bake cheesecake to stand up. That’s simply not true! If you use the right ratio of full fat cream cheese to whipped heavy cream, the natural fats will provide all the structure you need.
Gelatin often gives these bars a "rubbery" texture that takes away from the luxury of the dish.
Another misconception is that you can substitute whipped topping (like Cool Whip) for heavy cream with the same results. While it will technically "set," the flavor is significantly more artificial and the texture is much "foamier" than the rich, dense bars you get with real dairy.
If you want that authentic cheesecake tang, stick to the real stuff.
Freshness and Practical Tips
Storing these Easy NoBake Chocolate Chip Cheesecake Bars is easy because they actually improve after a bit of time in the fridge. Keep them in an airtight container to prevent them from absorbing any fridge odors (nobody wants onion flavored cheesecake).
- Fridge: They stay fresh and delicious for up to 5 days.
- Freezer: Wrap individual bars in plastic wrap and then foil. They will last for 2 months. Thaw in the fridge for 1 hour before eating.
- Zero Waste: If you have leftover graham cracker crumbs, toss them with a little cinnamon sugar and use them as a topping for yogurt or oatmeal. If you have extra heavy cream, whip it up for your morning coffee!
Serving Like a Pro
To get those sharp, clean edges you see in bakery windows, here is the secret: use a hot knife. Run your knife under hot water, wipe it completely dry, and make one clean slice. Repeat the cleaning and heating process for every single cut.
This prevents the filling from sticking to the blade and dragging through the crust.
For a final touch, I love to drizzle a little melted chocolate over the top or even a few extra mini chips. If you're feeling fancy, a dollop of extra whipped cream on each bar makes them look like a million bucks.
These are great for parties because you can slice them ahead of time and keep them chilled until the very last second. They are the ultimate "set it and forget it" dessert that everyone will think you spent all day on. Enjoy!

Recipe FAQs
Can I substitute the cream cheese with low-fat cream cheese?
No, you should use full fat bricks. low-fat varieties have excess moisture that prevents the filling from setting firmly, resulting in a runny or grainy texture.
How to get perfectly clean slices when cutting the bars?
Heat a sharp, long knife under hot water. Wipe the blade completely dry between each cut to prevent the creamy filling from sticking and tearing the surface.
How to ensure the whipped cream holds its structure for the filling?
Whip the heavy cream in a very cold bowl until stiff peaks form. The fat content solidifies better when cold, which traps the air needed for the light, mousse like texture.
Is it true I must use gelatin to prevent this cheesecake from becoming runny?
False. Gelatin is unnecessary if you properly incorporate fully whipped heavy cream into the softened cream cheese base; the stabilized dairy fats provide sufficient structure when chilled.
What is the best way to chill the bars for the fastest set?
Place the pan in the freezer for 30 to 45 minutes. This flash freezing speeds up the initial fat solidification, though the bars still need a minimum of 4 hours of refrigeration to fully cure.
How do I make the graham cracker crust stick together better?
Firmly press the melted butter and crumb mixture into the pan base. Use the bottom of a dry measuring cup to pack it down tightly; this high density base prevents crumbling upon slicing.
Can I prepare these bars a day ahead of time?
Yes, preparation 24 hours in advance yields optimal results. Chilling overnight allows the flavors to fully meld and ensures the filling is dense enough to slice flawlessly, similar to the setting process in our Fudgy Football Brownie recipe.
Nobake Chocolate Chip Cheesecake Bars
Ingredients:
Instructions:
Nutrition Facts:
| Calories | 311 kcal |
|---|---|
| Protein | 3.1 g |
| Fat | 23.2 g |
| Carbs | 24.1 g |
| Fiber | 1.1 g |
| Sugar | 16.4 g |
| Sodium | 178 mg |
