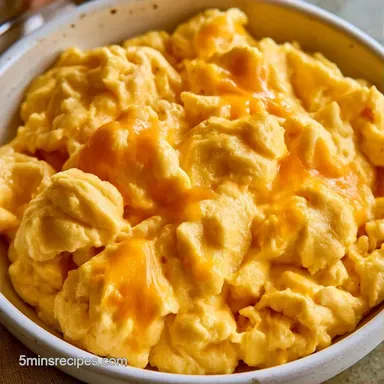
Cheesy Scrambled Eggs with Sharp Cheddar
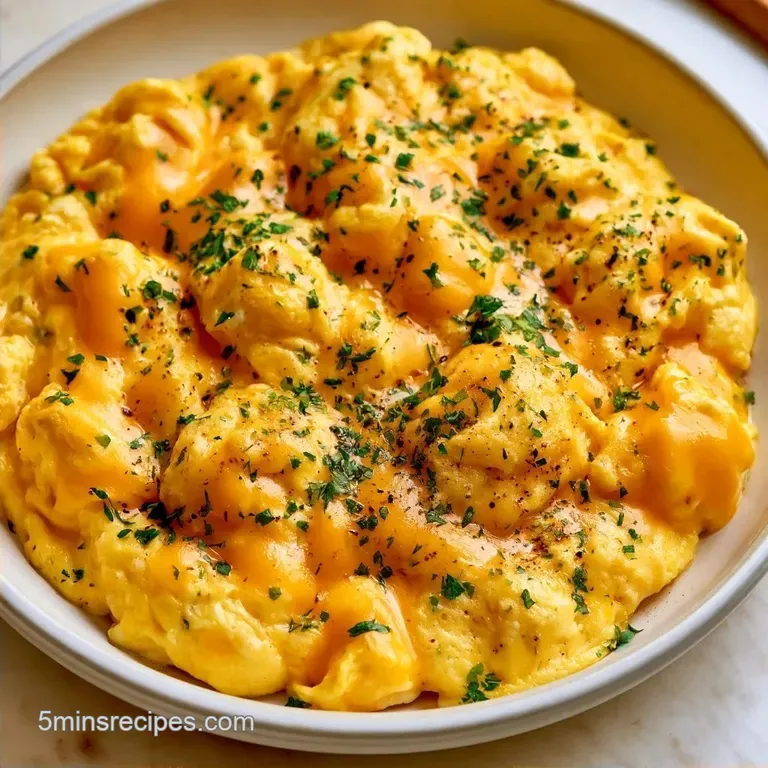
- Time: 2 min active + 3 min cook
- Flavor/Texture Hook: Rich, glossy, and melted
- Perfect for: Busy weekday mornings
Nothing signals the start of breakfast quite like the scent of bubbling butter in a skillet. In many homes, a plate of eggs serves as the affordable anchor of the morning, a tradition handed down by parents rushing to feed their children before the school bus arrives. It is pure comfort on a plate.
I once believed that high heat was the secret to a faster meal. Instead, I ended up with brown, sulfur scented curds that had the consistency of a pencil eraser. I eventually discovered that the lower the temperature, the better the outcome.
Our goal here is to keep those eggs perfectly tender. This version of Cheesy Scrambled Eggs utilizes a few clever additions and a precise timing window to ensure they remain creamy and rich.
Making Great Cheesy Scrambled Eggs
- Low Heat: High temperatures make egg proteins tighten and squeeze out water. Keeping it low keeps the moisture inside.
- Carry Over Cooking: Eggs keep cooking for about a minute after you plate them. Pulling them off early prevents them from drying out.
- Fat Integration: The butter and cream coat the proteins, which stops them from bonding too tightly and keeps the texture soft.
Recipe Specs
Most people argue over the best way to cook eggs. While some love the slow bake method, the stovetop is the gold standard for a quick morning.
| Method | Speed | Texture |
|---|---|---|
| Stovetop | Very Fast | Soft, irregular curds |
| Oven | Slower | Uniform, custard like |
If you have a few extra minutes, you can serve these alongside some poached eggs for a full brunch spread.
The Ingredient Breakdown
| Component | Purpose | Substitute Notes |
|---|---|---|
| Large Eggs | Main structure | Duck eggs: Richer, but more pungent |
| Unsalted Butter | Flavor and non stick | Olive oil: Lacks richness, works for dairy-free |
| Sharp Cheddar | Salt and creaminess | Pepper Jack: Adds a spicy kick |
| Heavy Cream | Texture stability | Whole milk: Lighter, less richness |
Tools You Will Need
Basic equipment is all you need for great results; a minimal setup works perfectly.
- 8 inch non stick skillet: Key for preventing the eggs from sticking to the surface.
- Medium mixing bowl: Provides enough space to whisk without making a mess.
- Silicone spatula: Ideal for moving the curds without damaging your pan.
- Whisk or fork: To ensure the yolks and whites are thoroughly combined.
Step-by-step Cooking Guide
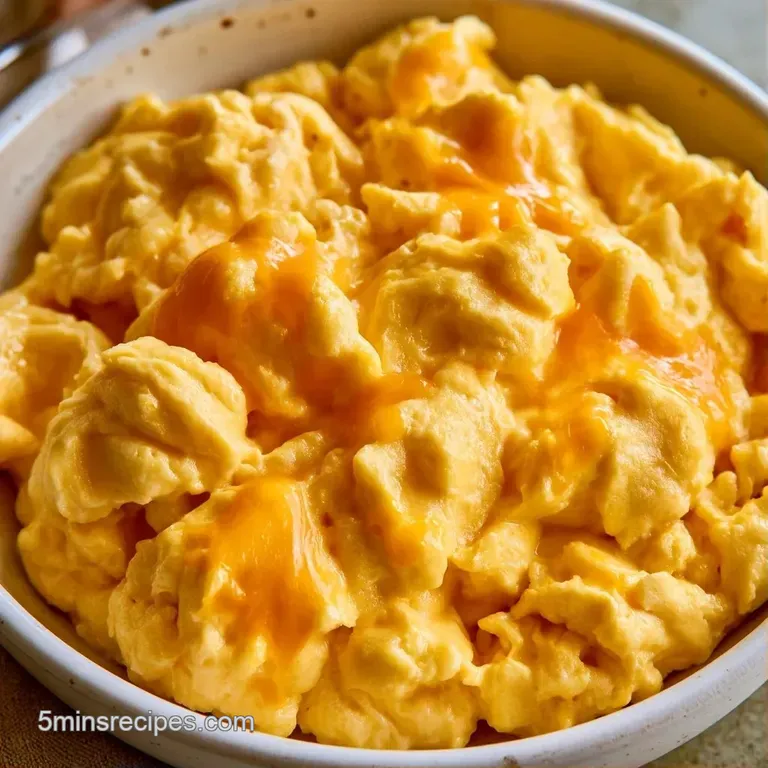
The Egg Base
- Crack the eggs into a medium mixing bowl.
- Add the salt, pepper, and heavy cream.
- Whisk vigorously for 30 seconds until the mixture is a uniform yellow and no streaks remain. Note: This incorporates air for a lighter feel.
The Gentle Sizzle
- Place an 8 inch non stick skillet over medium low heat and add the butter.
- Wait until the butter melts and bubbles, then pour in the egg mixture.
- Let the eggs sit undisturbed for 20 seconds until the edges just start to set.
The Cheese Fold
- Using a silicone spatula, gently push the eggs from the edges toward the center to create large, soft curds.
- When the eggs are about 75% cooked and still look glossy, sprinkle the grated cheddar cheese evenly over the top.
- Fold the cheese in gently for 30 more seconds.
- Remove the pan from the heat immediately while the eggs still look slightly undercooked.
Fixing Common Egg Issues
Fixing Dry Eggs
Dry eggs happen when the pan is too hot or they stay on the heat too long. If you hear a loud sizzle when the eggs hit the pan, your temperature is too high. Turn it down and pull the eggs off the stove while they still look "wet."
Handling Greasy Results
If you see a pool of oil, you might be using too much butter or a cheese with very high fat content. Stick to the 1 tablespoon measurement. If it happens, tilt the pan and soak up the excess with a folded paper towel before serving.
Preventing Rubbery Curds
This usually comes from over whisking or over cooking. While you want a uniform color, don't beat the eggs for minutes on end. A quick 30 second whisk is enough for these Cheesy Scrambled Eggs to stay tender.
Fixing Separated Cheese
If the cheese looks oily rather than melted, it's likely because the pan got too hot. The fat in the cheese separates when it boils. Keep the heat low and fold the cheese in at the very last second.
Serving and Plating Tips
I love these on a thick slice of sourdough toast. The crunch of the bread balances the soft texture of the eggs. For a more filling meal, try serving them with cheesy garlic breadsticks on the side.
To keep the presentation clean, use a wide plate. Pile the eggs in the center and garnish with a pinch of fresh chives or parsley. The green pop makes the yellow look much more vibrant.
If you are feeding a crowd, keep the eggs in the warm pan until the moment you serve. Don't let them sit on a cold plate, or the cheese will firm up too quickly.
Storage and Waste Tips
Storage Guidelines Keep any remaining Cheesy Scrambled Eggs in a closed container in the refrigerator for 2 days. For reheating, use a microwave on medium power in 20-second increments to prevent them from becoming rubbery. These do not freeze well, as the consistency turns grainy.
Waste Reduction Rather than tossing your eggshells, crush them and mix them into your compost or garden soil for a helpful calcium boost. If you have a bit of extra cheese, keep it in a separate freezer bag to use in future omelets.
Swaps and New Flavors
You can easily adjust this recipe based on what you have in your kitchen. Here are some cost effective ways to modify the flavor profile.
| Original Ingredient | Substitute | Why It Works |
|---|---|---|
| Sharp Cheddar | Feta Cheese | Salty and bright. Note: Decrease the amount of salt in the eggs. |
| Heavy Cream | Greek Yogurt | Adds protein and a slight tang. Note: This creates a thicker consistency. |
| Butter | Ghee | Higher heat tolerance. Note: Provides a nuttier aroma. |
Quick Customizations
- Looking for more zest? → stir in 1 tsp lemon zest.
- Want more greens? → quickly sauté a handful of spinach before adding eggs.
- Prefer a smoky taste? → substitute smoked gouda for the cheddar.
The beauty of this recipe is its versatility. Whether you prefer Simple Cheesy Scrambled Eggs for a quiet morning or a more substantial meal with bacon and spinach, the technique is identical. Just remember to account for carry over cooking to avoid a rubbery result.
Recipe FAQs
How to make cheesy scrambled eggs?
Whisk eggs with salt, pepper, and heavy cream for 30 seconds. Cook in butter over medium low heat, pushing curds to the center, then fold in cheddar when 75% cooked.
Is it beneficial to add cheese?
Yes, it increases the richness and flavor. Sharp cheddar provides a savory contrast to the creamy heavy cream.
Which cheese works best?
Grated sharp cheddar is the recommended choice. If you enjoyed the bold flavor of cheddar here, see how it creates the base for our cheese crackers.
Do I have to overcook the eggs to ensure the cheese melts?
No, this is a common misconception. Remove the pan from heat while eggs look slightly undercooked to let carry over cooking melt the cheese.
Why do my eggs feel rubbery?
Excessive heat is usually the cause. Use a medium low setting and stop cooking while the eggs are still glossy.
At what stage should the cheese be sprinkled?
Add the cheddar when the eggs are 75% cooked. Fold it in gently for 30 seconds before removing from heat.
Cheesy Scrambled Eggs