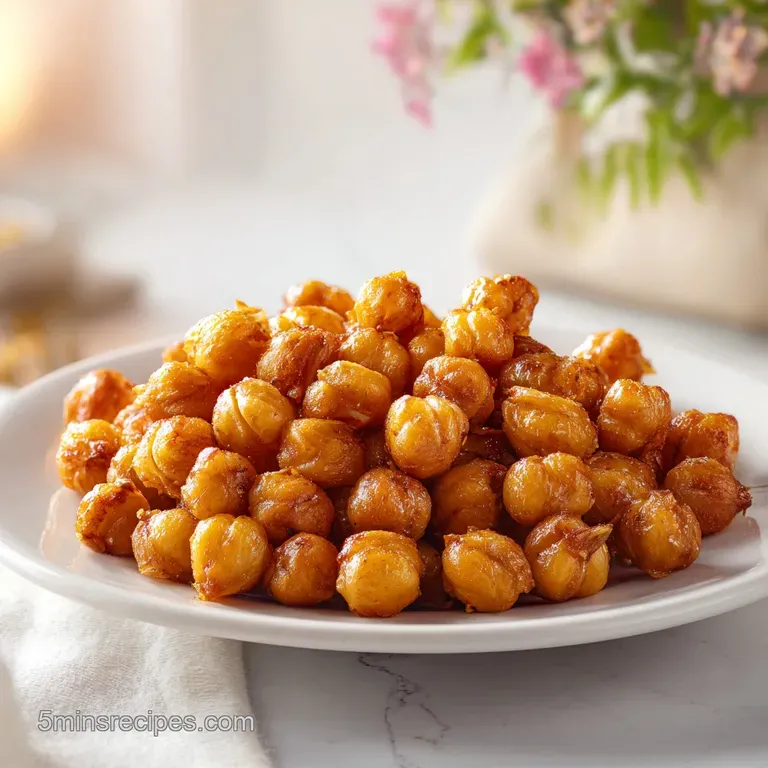
Crispy Baked Chickpeas: Extra Crunchy
- Time: Active 10 minutes, Passive 45 minutes, Total 55 minutes
- Flavor/Texture Hook: Earthy, salt crusted exterior with a bone dry, airy crunch
- Perfect for: High protein snacking, salad toppers, or a bold cocktail hour nibble
- Shatter Crisp Perfection: The Secrets of Crispy Baked Chickpeas
- Crunch Metrics and Vital Recipe Specs
- Component Analysis and Ingredient Roles
- Gathering Your Essentials: Flavor Deep Dive
- Gear for the Crunchiest Result
- Steps to Reaching Legume Glory
- Mastering the Art of Troubleshooting
- Scaling the Crunch for Crowds
- Creative Fusion Twists and Swaps
- Preservation Secrets for Maximum Crunch
- Visual Flair and Serving Tips
- Recipe FAQs
- 📝 Recipe Card
Shatter Crisp Perfection: The Secrets of Crispy Baked Chickpeas
Listen, we’ve all been there. You grab a can of beans, toss them in some oil, shove them in the oven, and thirty minutes later you’re chewing on something that feels like a rubber bouncy ball. It’s frustrating, right?
I used to think that "crispy" was just a marketing lie told by health food influencers. But then I realized the problem wasn't the bean it was the physics of moisture. When I finally heard that first loud, glass like snap between my teeth, I knew I’d never go back to store-bought bags again.
The aroma that fills the kitchen during the final ten minutes is something special. It’s a mix of toasted nuts and that deep, smoky scent of paprika hitting warm oil. It’s the kind of snack that makes you want to cancel your dinner plans and just eat the whole tray while standing over the counter.
This isn't just a "healthy alternative" to chips; it’s a bold, savory powerhouse that stands on its own. We are going for a texture that is light and airy, almost like a honeycomb, rather than a dense, tooth breaking grit.
We are going to focus on a few non negotiable rules here. If you want that bold fusion vibe, we have to treat these legumes with some respect. Forget the traditional way of just "tossing and hoping." We are going to strip these beans down, dry them out until they’re practically parched, and then build the flavor back up.
It’s a quick win for your weeknight meal prep, but it tastes like something you’d pay ten bucks for at a trendy fusion bar.
Crunch Metrics and Vital Recipe Specs
The Moisture Barrier: Surface water acts as a thermal shield, steaming the inside of the bean instead of crisping the outside. By roasting them "naked" for the first 15 minutes, we ensure the heat penetrates the starch immediately.
Lipid Insulation: Avocado oil has a high smoke point, which allows us to blast these at 200°C without the fat breaking down or tasting bitter. This creates a thin, fried like coating on every sphere.
The Skin Factor: Loose skins trap steam against the bean. Removing the ones that naturally fall off allows the hot air to circulate 360 degrees around the protein rich center.
Residual Heat Bonding: Adding spices after the roast prevents the delicate powders from burning in the high heat. The residual heat from the oil is just enough to "bloom" the spices and make them stick without turning them into charcoal.
| Method | Total Time | Texture | Best For |
|---|---|---|---|
| Stovetop Searing | 15 minutes | Soft centers, charred skin | Quick salad toppings |
| Oven Roasting | 55 minutes | Uniformly brittle, airy shatter | Long term snacking |
| Air Fryer | 20 minutes | Extra crunchy exterior | Single serving snacks |
The difference between oven roasting and stovetop methods really comes down to the internal structure of the bean. While a pan gives you immediate browning, only the consistent, dry heat of an oven can pull the moisture out of the very center of the chickpea.
If you want a snack that lasts more than ten minutes without getting chewy, the oven is your only real choice.
Component Analysis and Ingredient Roles
| Ingredient | Science Role | Pro Secret |
|---|---|---|
| Chickpeas (Canned) | Structural Starch | Rinse until the foam (saponins) is completely gone for better digestion. |
| Avocado Oil | Heat Conductor | Use oil with a high smoke point to prevent a "burnt oil" aftertaste at 200°C. |
| Smoked Paprika | Flavor Depth | Always use pimentón de la Vera for that authentic, campfire smoky finish. |
| Fine Sea Salt | Moisture Extraction | Smaller grains adhere better to the round surface than bulky kosher salt. |
Gathering Your Essentials: Flavor Deep Dive
To get this right, we need to stick to the script. I’ve tried using olive oil, but at 200°C, it can sometimes get a bit "grassy" and lose its punch. Avocado oil is the champion here it’s neutral and handles the heat like a pro. For the beans, two 425g cans are the sweet spot.
Any more and you’ll overcrowd the tray, which is the fastest way to end up with "soggy bean syndrome."
- Chickpeas (2 cans, 425g each): Also known as garbanzo beans. Why this? They have the perfect starch to fiber ratio for achieving a hollow, crunchy center.
- Avocado Oil (1.5 tbsp): A clean, over high heat fat. Why this? It stays stable at 200°C and provides a velvety mouthfeel without being greasy.
- Fine Sea Salt (0.5 tsp): To bring the flavors forward. Why this? Fine grains tuck into the tiny crevices of the roasted bean skin.
- Smoked Paprika (1 tsp): For that bold, woody aroma. Why this? It adds a "cooked over coals" vibe that complements the earthy beans.
- Garlic Powder (0.5 tsp): A savory backbone. Why this? Fresh garlic would burn instantly in the oven, but powder infuses the oil perfectly.
- Cumin (0.25 tsp): Warmth and earthiness. Why this? Cumin is the secret to making people ask, "What is that amazing flavor?"
- Cayenne Pepper (0.125 tsp): A tiny kick of heat. Why this? Just enough to wake up the palate without making it a "spicy" dish.
If you’re feeling adventurous, you can swap the cayenne for a dash of Shichimi Togarashi for an Asian fusion twist. This recipe is a fantastic companion to other crispy snacks like homemade mozzarella sticks, especially if you're putting together a big platter for friends.
Gear for the Crunchiest Result
You don't need a lab, but a few specific tools make a massive difference. First, a large rimmed baking sheet is non negotiable. You want the chickpeas to have plenty of "breathing room." If they are touching each other, they are steaming each other. Steam is the enemy.
I prefer a heavy duty aluminum pan because it distributes heat evenly and prevents hot spots that might burn some beans while leaving others raw.
A clean, lint free kitchen towel is also your best friend. Paper towels work in a pinch, but they often tear and leave little white bits on your beans. A real cotton towel allows you to roll the chickpeas around vigorously, which not only dries them but also knocks off those loose skins that tend to burn.
Trust me, the 10 minutes you spend drying them is more important than the 45 minutes they spend in the oven.
Steps to Reaching Legume Glory
- Rinse your chickpeas. Toss them into a colander and spray with cold water until the bubbles disappear and the water is crystal clear. Note: This removes the metallic canned taste and the excess starches.
- Dry them thoroughly. Spread the beans onto a clean towel and roll them around until they are bone dry. Let them air dry for an additional 15 minutes if you have the time. Note: Any surface moisture will prevent the oil from sticking later.
- Preheat the oven. Set your oven to 200°C (400°F) and ensure the rack is in the center position for even airflow.
- The "Naked" Roast. Spread the dry chickpeas on the tray with no oil or salt. Bake for 15 minutes until they look matte and slightly shrunken. Note: This step forces the remaining internal moisture to evaporate.
- Apply the oil. Pull the tray out and drizzle with 1.5 tbsp of avocado oil. Toss them with a spatula until every bean is shimmering and coated.
- The Final Crisp. Return the tray to the oven and roast for another 30 minutes. Shake the pan halfway through to ensure even browning.
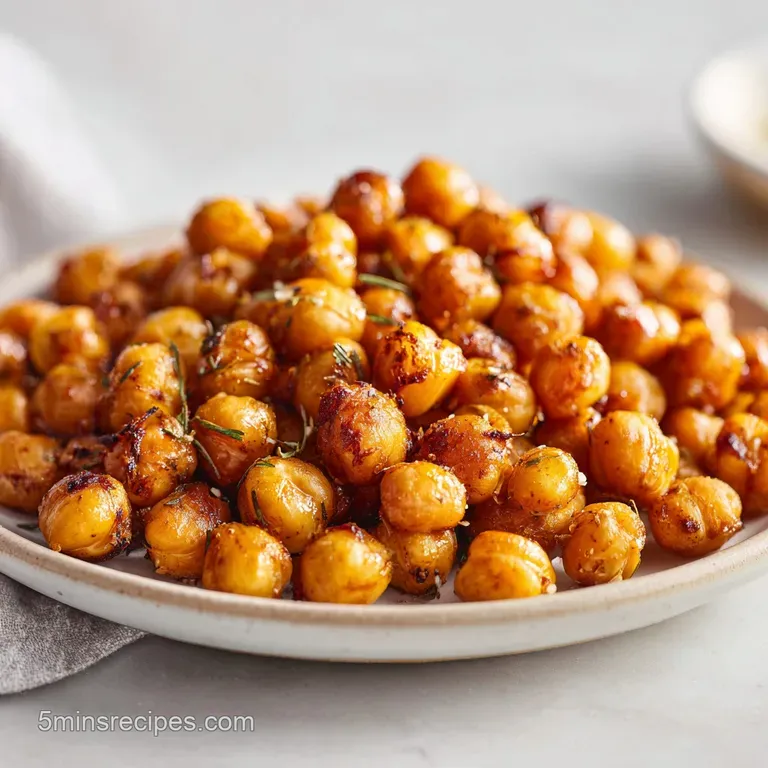
- Monitor the color. Cook until they are a deep mahogany brown and sound like marbles when shaken against the pan.
- Season immediately. While the chickpeas are still hot from the oven, toss them with the paprika, garlic, cumin, cayenne, and salt. Note: The heat opens up the spices and helps them bond to the oil.
Chef's Tip: If you want to be extra, freeze your spice mix for 5 minutes before tossing. The temperature contrast can sometimes help the spices "set" faster on the warm oil coating, though it's mostly just a fun kitchen experiment!
Mastering the Art of Troubleshooting
Why Your Chickpeas Stay Chewy
This is the most common heartbreak in the legume world. Usually, it's because the "Naked Roast" was skipped or the oven temperature was too low. If the heat isn't high enough to penetrate the center, the outside browns while the inside stays moist.
When they cool down, that internal moisture migrates to the surface, turning your crispy snack into a gummy mess.
Why the Chickpeas Popped
If you hear a "pop pop pop" like popcorn, don't panic! This happens when steam gets trapped under the skin of the chickpea. It’s actually a sign that they are drying out, but if it's happening excessively, your oven might be too hot or you didn't dry them well enough before putting them in.
A few "jumpers" are normal, but if they're launching off the tray, dial the heat back by 10 degrees.
| Problem | Root Cause | Solution |
|---|---|---|
| Bitter Aftertaste | Burnt spices | Always add spices AFTER roasting, not before. |
| Greasy Texture | Too much oil | Stick to 1.5 tbsp per 2 cans; the beans shouldn't swim in fat. |
| Uneven Crunch | Overcrowded pan | Use a larger tray or split the beans between two sheets. |
Common Mistakes Checklist
- ✓ Skip the towel dry step? They will steam instead of fry.
- ✓ Adding spices too early? High heat turns paprika bitter and acrid.
- ✓ Using over low heat oil? Olive oil can smoke and ruin the flavor profile.
- ✓ Forgetting to shake the pan? One side will be burnt while the other is soft.
- ✓ Not rinsing enough? The residual liquid (aquafaba) creates a sticky film that prevents crisping.
Scaling the Crunch for Crowds
If you’re doubling this for a party (and you should, they go fast), don't just dump four cans on one tray. You need to use two separate baking sheets. If the chickpeas are stacked on top of each other, they will never reach that "shatter" stage.
For spices, you don't necessarily need to double the salt and cayenne start at 1.5x the amount and taste as you go. Salt has a way of becoming overwhelming when scaled up linearly.
When scaling down for a solo snack session, a toaster oven works beautifully. Just keep a close eye on them, as the heating elements are much closer to the food. Reduce the roasting time by about 5 minutes and check them frequently. If you're looking for a side dish to pair with these, they go surprisingly well with crispy garlic bread as part of a Mediterranean style grazing board.
Creative Fusion Twists and Swaps
The beauty of Crispy Baked Chickpeas is their versatility. While the smoked paprika and cumin combo is a classic, the Asian fusion route is where things get really interesting. You can swap the cumin for ground ginger and a touch of five spice powder.
Or, for a "Bang Bang" style snack, toss the finished chickpeas in a tiny bit of Sriracha and honey right at the end (though they will need to be eaten immediately if you add wet sauces).
| Original Ingredient | Substitute | Why It Works |
|---|---|---|
| Avocado Oil | Ghee (Melted) | Provides a nutty, buttery flavor with a very high smoke point. |
| Smoked Paprika | Chipotle Powder | Adds a similar smokiness but with a significantly higher heat level. |
| Canned Chickpeas | Dried (Soaked) | More labor intensive but results in a denser, heartier crunch. |
For a totally different vibe, try a "Salt and Vinegar" version. Soak the chickpeas in white vinegar for 30 minutes after rinsing, then follow the drying and roasting steps as usual. It’s a tangy, sharp alternative that is incredibly addictive.
Preservation Secrets for Maximum Crunch
The biggest myth in the kitchen is that you should store these in a sealed plastic bag. Stop right there. If you seal warm or even room temperature chickpeas in plastic, any tiny amount of remaining moisture will create humidity. Within an hour, your crispy beans will be soft.
The best way to store them is in a glass jar with a loose lid, or even just a bowl covered with a clean paper towel on the counter.
- Fridge: Honestly, don't do it. The humidity in the fridge is the death of crunch.
- Freezer: You can freeze the unroasted dried chickpeas, but once they are crispy, the freezer will just make them soggy upon thawing.
- Zero Waste: If you do end up with some "stale" or soft chickpeas the next day, don't toss them! Throw them back into a hot oven or an air fryer for 3-4 minutes. They will crisp right back up. You can also grind them up into a "crunchy dust" to use as a breading for chicken or tofu.
Visual Flair and Serving Tips
Presentation is everything when you're serving a bold, fusion inspired snack. I love serving these in small ceramic bowls or even recycled brown paper bags for a street food aesthetic.
Sprinkle a little fresh parsley or cilantro over the top just before serving to give that pop of green against the deep mahogany of the beans.
If you're using these as a garnish, think about contrast. They are incredible on top of a velvety butternut squash soup or a creamy avocado salad. The "shatter" of the chickpea against a soft, rich background is a sensory win every time.
Just remember to add them at the very last second before the plate hits the table you want that crunch to be the first thing your guest experiences!
Ultimately, the goal is a snack that feels intentional, bold, and satisfying. By following the "dry, roast naked, then oil" method, you’re moving beyond the basic recipes and into the territory of professional grade snacking. Enjoy the sizzle, the aroma, and most importantly, that glorious crunch.
Let's get cooking!

Recipe FAQs
How to get chickpeas crispy in the oven?
Rinse thoroughly, dry completely, and roast in two stages. After rinsing until the water runs clear, dry the chickpeas on a towel and air-dry for 15 minutes before roasting "naked" at 400°F (200°C) for 15 minutes to evaporate moisture, then add oil and roast for another 30 minutes.
Are roasted chickpeas ok for diabetics?
Yes, they are generally considered a good option. Chickpeas have a low glycemic index and are rich in fiber, which helps manage blood sugar spikes when consumed as part of a balanced diet.
Do chickpeas help constipation?
Yes, they are an excellent source of dietary fiber. Adding legumes like chickpeas to your meals helps bulk up stool and promotes regular digestion, provided you also stay well hydrated.
Are chickpeas good for insulin resistance?
Yes, they are beneficial for metabolic health. The combination of protein and complex carbohydrates in chickpeas helps stabilize energy levels and supports improved insulin sensitivity.
Why did my chickpeas turn out chewy instead of crunchy?
You likely skipped the initial drying or "naked" roast phase. Surface moisture prevents the skin from crisping, effectively steaming the chickpeas instead of frying them. If you enjoyed One Pan Pasta recipe used here, you will find the same logic applies to achieving perfect textures in other sheet pan meals.
Can I add the spices before roasting?
No, this will ruin the flavor. High heat causes spices like smoked paprika and garlic powder to turn bitter and acrid; always toss them in after removing the chickpeas from the oven while the oil is still warm.
How do I prevent the chickpeas from burning on one side?
Shake the baking sheet halfway through the final 30-minute roasting period. This redistributes the chickpeas, ensuring even heat contact and consistent browning on all sides.
Crispy Baked Chickpeas

Ingredients:
Instructions:
Nutrition Facts:
| Calories | 224 calories |
|---|---|
| Protein | 9.0 g |
| Fat | 8.6 g |
| Carbs | 29.3 g |
| Fiber | 8.2 g |
| Sugar | 4.8 g |
| Sodium | 420 mg |
