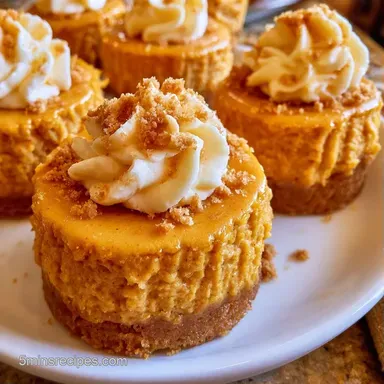
Mini Pumpkin Cheesecakes with Graham Cracker Crust
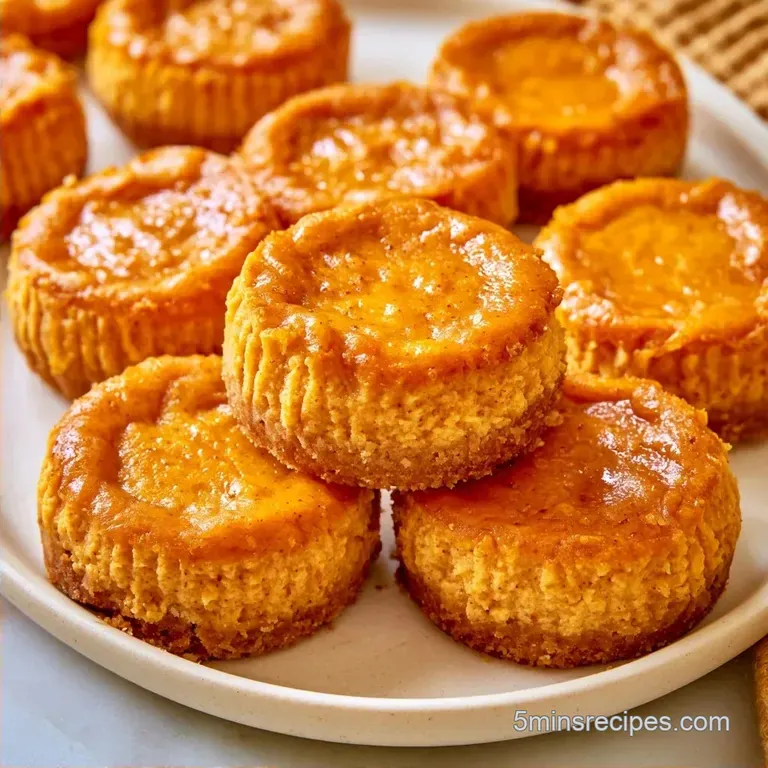
- Time: 15 min active + 3 hours 35 mins baking and chilling
- Flavor/Texture Hook: Tangy cream cheese meets warm autumn spices with a crisp crust
- Perfect for: Holiday parties, fall get togethers, or a simple treat for two
Mini Pumpkin Cheesecakes
That smell of cinnamon and nutmeg hitting the air as soon as the oven opens is just the best part of autumn. There is something about the contrast between a salty, buttery crust and a cool, tangy filling that makes these a huge hit every time I bring them to a potluck.
I used to worry about the filling being too runny or the tops cracking, but I've found that patience is the only real requirement here. These treats give you that rich, decadent feel of a full sized cheesecake without the stress of a water bath or the risk of a giant crack down the middle.
You can expect a bite sized dessert that feels fancy but takes very little effort to put together. The Mini Pumpkin Cheesecakes we're making today are all about that balance of warm spices and a silky finish.
Why This Recipe Works
Room Temp Ingredients: Using softened cream cheese and room temperature eggs prevents the batter from breaking, which means no lumps in your filling.
Low Speed Mixing: Beating the eggs on low prevents too much air from getting trapped. This keeps the cakes from puffing up like soufflés and then collapsing into a crater.
The Chill Phase: A long rest in the fridge allows the fats to solidify and the flavors to meld, turning a soft bake into a firm, sliceable treat.
The Main Ingredients
For the base, I use graham cracker crumbs, but if you want more punch, gingersnaps work great. The melted butter binds everything together, while a pinch of pumpkin pie spice in the crust mirrors the flavors in the filling.
The filling relies on full fat cream cheese for that signature thickness. I add sour cream to cut through the richness, adding a slight tang that prevents the pumpkin from feeling too heavy. The pumpkin purée needs to be plain - not the pumpkin pie mix - so we can control the sugar and spice levels.
Substitution Guide
| Original Ingredient | Substitute | Why It Works |
|---|---|---|
| Graham Cracker Crumbs | Gingersnap Crumbs | Similar texture. Note: Adds a bolder, spicier snap to the base |
| Sour Cream | Plain Greek Yogurt | Similar acidity and fat. Note: Results in a slightly thicker, tangier filling |
| Pumpkin Purée | Roasted Butternut Squash | Similar color and consistency. Note: Milder flavor, needs extra cinnamon |
Tools You'll Need
While you don't need a professional kitchen, a few tools make this process much faster. I rely on a standard 12-cup muffin tin and paper liners; the liners are a must to ensure the treats don't stick to the metal.
Using an electric mixer, either handheld or a stand model such as KitchenAid, is helpful for making the cream cheese fluffy. To prepare the crust, a heavy spoon or a small, flat bottomed glass is the best tool for pressing the crumbs down firmly.
Step-by-step Guide
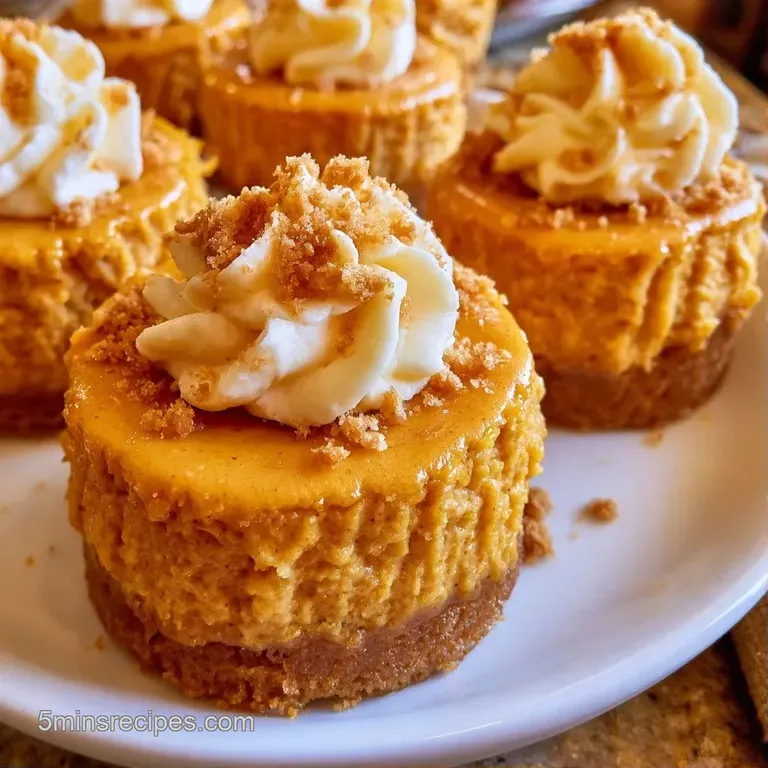
Constructing the Base
- Combine the graham cracker crumbs, melted butter, sugar, and spice in a small bowl until the mixture resembles wet sand.
- Divide the mixture evenly among 12 lined muffin tins.
- Press the crumbs firmly into the bottom of each liner using the bottom of a small glass or a spoon to create a solid base. Note: Pressing hard prevents the crust from crumbling when you bite into it.
Whipping the Filling
- Beat the softened cream cheese and sugar on medium speed until completely smooth and fluffy (about 2 minutes).
- Blend in the pumpkin purée, sour cream, and vanilla extract until fully incorporated.
- Fold in the egg, pumpkin pie spice, and salt on low speed just until combined. Note: Stop immediately once the yellow of the egg disappears to avoid over aerating.
Baking and Finishing
- Spoon the batter over the crusts, filling each liner about 3/4 of the way to the top.
- Bake at 325°F (160°C) for 25–30 minutes until edges are set but centers have a slight jiggle.
- Cool in the pan for 15 minutes, then transfer to the refrigerator for at least 3 hours.
Fixing Common Issues
A grainy consistency in your Mini Pumpkin Cheesecakes typically indicates the cream cheese wasn't soft enough before mixing. Since sugar doesn't dissolve well in cold fat, tiny crystals can remain.
Surface cracks are often caused by over mixing the eggs or baking for too long. I recommend removing the pan while the center still has a slight wobble, allowing the carryover heat to finish the cooking.
If the bases are soggy, the crust may not have been pressed down firmly enough, or the oven rack was too low. Positioning the pan on the middle rack helps the bottoms set correctly.
| Problem | Fix |
|---|---|
| Cracked Tops | Lower the egg mixing speed and pull from the oven sooner |
| Grainy Filling | Confirm cream cheese is completely at room temperature |
| Soggy Crust | Press crumbs down more firmly and bake on the middle rack |
Different Flavor Twists
I enjoy experimenting with the base. To give it a richer, fall inspired flavor, replace graham crackers with gingersnaps or Biscoff cookies. This creates a caramelized taste that complements the pumpkin perfectly.
For a lighter version, try Mini Pumpkin Cheesecakes No Bake by replacing the egg with extra cream cheese and a small amount of cornstarch or melted gelatin for stability. Alternatively, my no bake pumpkin pie is an excellent oven free option.
To add a gourmet touch, swirl melted dark chocolate or a teaspoon of maple syrup over the batter before baking. Use a toothpick to create a spiral design for a professional finish.
Chef's Note: Gently tap the filled muffin pan against the counter several times before baking. This removes large air bubbles and ensures a smooth surface.
Method Comparison
| Feature | Baked Method | No Bake Method |
|---|---|---|
| Texture | Denser, cake like | Lighter, mousse like |
| Prep Time | Longer (includes bake/cool) | Faster (chill only) |
| Stability | Holds shape better at room temp | Needs constant refrigeration |
Keeping Them Fresh
Keep these in a closed container in the fridge for up to 5 days. I suggest layering them with parchment paper to prevent them from sticking together.
They also freeze quite well. Store them in a freezer safe bag, and they will remain fresh for 2 months. When you're ready to enjoy them, thaw them in the refrigerator overnight. Avoid thawing on the counter, as the resulting condensation can make the crust soggy.
To prevent waste, stir any leftover pumpkin purée into your morning oatmeal or blend it into a smoothie with a frozen banana and a pinch of cinnamon.
What to Serve With
Since these are quite indulgent, I recommend balancing them with a refreshing touch. Adding some fresh pomegranate seeds or a dollop of whipped cream dusted with cinnamon creates a lovely contrast in both look and taste.
When presenting these alongside other desserts, try pairing them with crisp apple slices or a steaming mug of spiced cider. If you want a savory autumn addition to your spread, this creamy pumpkin dip served with veggie sticks is an excellent choice.
Quick Decision Guide
- To achieve a firmer set: chill for 4 hours rather than 3.
- For a spicier crust: substitute graham crackers with gingersnaps.
- For a lighter profile: use plain Greek yogurt instead of sour cream.
Recipe FAQs
How do I avoid lumps in the batter?
Ensure cream cheese, eggs, and sour cream are at room temperature. Softened ingredients blend more seamlessly, preventing the need for over mixing.
Why did my cheesecake puff up and then sink?
Too much air was beaten into the batter. Fold in the egg and spices on low speed and stop immediately once incorporated to prevent over aerating.
Can I bake these a day early?
Yes, they actually improve with time. Just ensure they are chilled for at least 3 hours before serving.
Is it true I can make this specific recipe without baking?
Not true. This recipe requires a 325°F oven for 25 30 minutes to set. If you prefer treats that require zero oven time, try these cookie dough bites.
When are these cheesecakes considered done?
Look for set edges and a slight jiggle in the center. Removing them at this stage prevents the cheesecakes from overcooking and cracking.
What prevents the crust from crumbling?
Press the mixture firmly into the liners. Use the bottom of a small glass or a spoon to create a solid, compressed base.
Does adding pumpkin purée make the batter too runny?
Surprisingly, no. The combination of cream cheese and egg provides enough structure to support the moisture from the purée.
Mini Pumpkin Cheesecakes