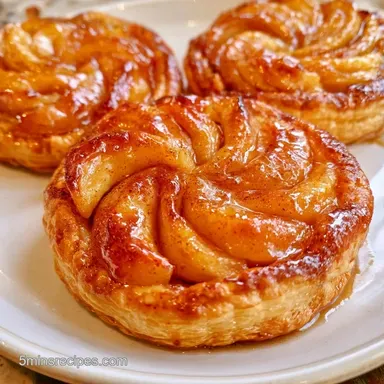
Apple Puff Tarts with Granny Smith Apples
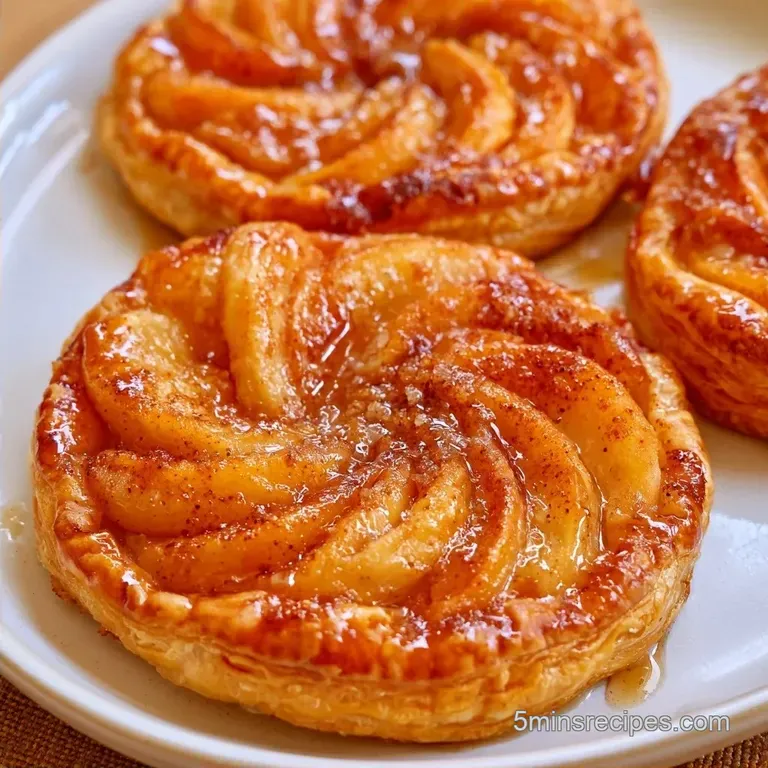
- Time: 20 minutes prep + 20 minutes oven time
- Highlights: Flaky pastry finished with a glossy, tart glaze
- Perfect for: A quick weekend indulgence or a polished brunch addition
- Easy Apple Puff Tarts That Actually Stay Crispy
- Quick Recipe Specs
- Why the Method Works
- Ingredients You'll Need
- The Right Tools
- Step-by-Step Baking Guide
- Fixing Common Pastry Issues
- Different Ways to Make Them
- Adjusting the Batch Size
- Storage and Waste Tips
- How to Serve Them
- Key Techniques Explained
- Recipe FAQs
- 📝 Recipe Card
The scent of brown sugar and cinnamon bubbling in a hot pan is truly one of my favorite aromas. Yet, for a long time, I struggled with a persistent problem: soggy bottoms. By placing raw apple slices directly on the dough, the pastry became damp and limp by the time the fruit softened, rather than staying crisp and light.
The fix was simpler than I imagined. By sautéing the apples first, you can control the water content and intensify the flavor before the pastry ever hits the heat. This ensures your Apple Puff Tarts stay structurally sound and genuinely crunchy.
You'll get a dessert that looks like it's from a high end bakery but requires very little effort. These Apple Puff Tarts aren't about difficult techniques; they're about a few smart tweaks to make sure the textures are perfect every time.
Easy Apple Puff Tarts That Actually Stay Crispy
Quick Recipe Specs
These treats rely on a over high heat blast to lift the pastry layers and a quick fruit reduction to keep things tidy.
- Prep time: 20 minutes
- Cook time: 20 minutes
- Total time: 40 minutes
- Yield: 8 tarts
Why the Method Works
- Pre-Sautéing: Cooking the apples first evaporates the water that usually makes the crust soggy.
- High Heat: The 400°F oven turns the butter in the dough into steam, which pushes the layers up.
- The Glaze: Apricot preserves add a hit of acidity that cuts through the rich butter.
| Method | Time | Texture | Best For |
|---|---|---|---|
| Sautéed Filling | 40 mins | Crisp base, tender fruit | Consistent results |
| Raw Filling | 30 mins | Often soggy, firmer fruit | Very fast prep |
Ingredients You'll Need
I prefer using Granny Smith apples because they hold their shape and don't turn into mush. If you use a sweeter apple, you can cut back on the brown sugar.
For the Filling
- 2 large Granny Smith apples, peeled and thinly sliced
- 2 tbsp unsalted butterWhy this? Adds a rich, creamy base to the syrup
- 1/4 cup light brown sugar, packed
- 1 tsp ground cinnamon
- 1/4 tsp salt
- 1 tsp lemon juiceWhy this? Keeps apples bright and adds tang
For the Pastry & Glaze
- 1 sheet frozen puff pastry, thawed but coldWhy this? Cold butter is essential for the rise
- 1 large egg, beaten
- 1 tbsp granulated sugar
- 1/4 cup apricot preserves, warmedWhy this? Creates that bakery style shine
Substitutions
- Apple: Honeycrisp or Braeburn work well, though they are sweeter.
- Brown Sugar: Maple syrup can work, but reduce the amount by 1 tbsp.
- Apricot Preserves: Peach or apricot jam is a great swap.
- Egg: A splash of milk or heavy cream works for a lighter shine.
The Right Tools
You can use basic kitchen gear, but certain tools are helpful. A non-stick skillet keeps the apple syrup from clinging to the pan. For the pastry, a pizza cutter or sharp knife ensures clean cuts, allowing the tarts to rise consistently. A pastry brush is essential for the egg wash and glaze.
Step-by-step Baking Guide
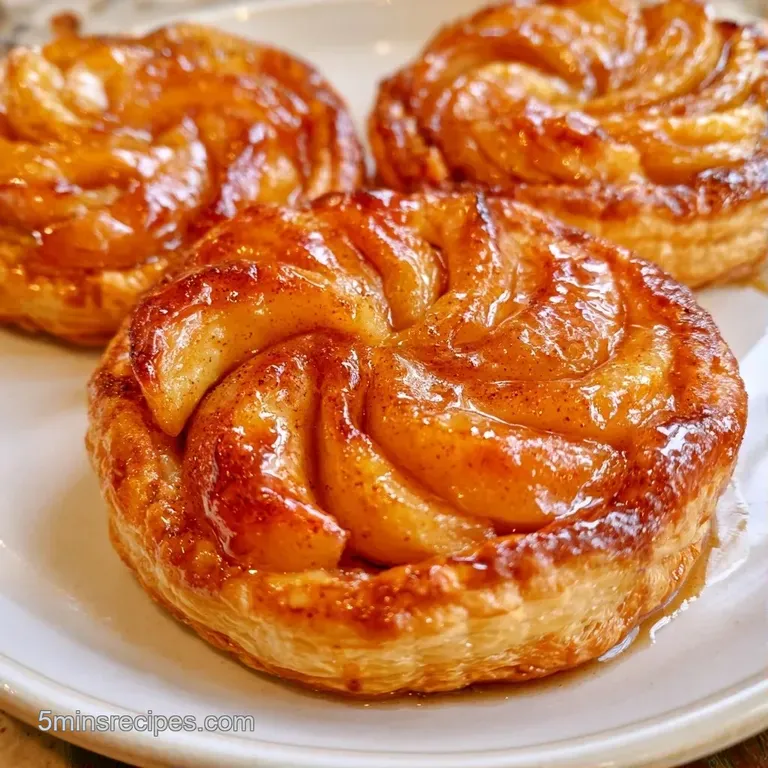
Let's dive in. To ensure the layers puff up perfectly, keep your pastry chilled until the very last moment.
Phase 1: Quick Sauté the Filling
- Melt the butter in a skillet over medium heat.
- Stir in the apple slices, brown sugar, cinnamon, salt, and lemon juice.
- Sauté for 3-5 minutes until the apples are tender and coated in a thick glaze.
- Take the pan off the heat and let the mixture cool for 5 minutes. Note: Putting hot filling on cold pastry can melt the butter and hinder the rise.
Phase 2: Shaping the Individual Tarts
- Preheat your oven to 400°F (200°C) and line a baking sheet with parchment paper.
- Roll out the cold puff pastry on a surface lightly dusted with flour.
- Divide the dough into 8 equal rectangles.
- Carefully score a smaller rectangle about 1/2 inch from the edge without cutting all the way through. Note: This creates a border that keeps the filling in place.
Phase 3: Assembly and Baking
- Spoon a generous portion of the apple mixture into the center of each rectangle.
- Apply the beaten egg wash to the pastry edges with a brush.
- Sprinkle the edges with granulated sugar.
- Bake for 18-22 minutes until the pastry has puffed up and the edges are a deep golden brown.
Phase 4: The Finishing Touch
- While the Apple Puff Tarts are still warm, brush the top of the fruit with heated apricot preserves. The heat allows the glaze to soak in and become silky.
Fixing Common Pastry Issues
If your Apple Puff Tarts aren't behaving, it's usually a temperature or moisture issue. The most common complaint is a center that stays doughy. This happens if the filling is too wet or the oven isn't hot enough.
Another issue is the "filling slide," where the apples shift during baking. Scoring the pastry creates a wall that keeps everything in place. If you skip the scoring, the apples tend to migrate toward the edges.
Finally, if the pastry doesn't puff, check your pastry temperature. If the dough gets too warm before it hits the oven, the butter absorbs into the flour instead of creating steam pockets.
Common Fixes
| Problem | Fix |
|---|---|
| Soggy Bottoms | Simmer filling 2 extra mins to reduce syrup |
| Flat Pastry | Keep dough chilled; don't let it sit at room temp |
| Filling Slides | Score the pastry border more deeply |
| Burnt Edges | Lower temp to 375°F and bake 3-5 mins longer |
Different Ways to Make Them
You can easily tweak these Apple Puff Tarts to change the vibe. For a zesty kick, add a pinch of ground ginger or a bit of orange zest to the apple mixture. If you want something more indulgent, dollop a bit of sweetened cream cheese onto the pastry before adding the apples.
If you're looking for a tart contrast, a dollop of zesty cranberry sauce on the side works surprisingly well with the cinnamon.
Quick Adjustments:
- Extra tang? → add 1 tsp lemon zest to filling.
- Nutty crunch? → sprinkle sliced almonds on top before baking.
- Vegan version? → use vegan butter and maple syrup, skip the egg wash.
Adjusting the Batch Size
Adjusting the quantity of these Apple Puff Tarts is simple, though it does alter the oven dynamics.
Scaling Down (1/2 Batch): To make just 4 tarts, switch to a smaller baking sheet. I recommend cutting the bake time by roughly 20% to keep the edges from over browning in a less crowded oven. To handle the egg, whisk it in a small bowl first and use 2 tablespoons.
Scaling Up (2x Batch): If doubling the recipe, work in stages. Avoid overcrowding your baking sheet, as excess steam will prevent the sides from becoming crisp. When baking two trays simultaneously, drop the temperature to 375°F and add 5 minutes to the timer.
This ensures the bottom tray receives enough heat to rise properly.
Storage and Waste Tips
Store your Apple Puff Tarts in the refrigerator for around three days. They might lose that initial shatter, but they still taste wonderful. For freezing, do so before they hit the oven.
Flash freeze the prepared tarts on a baking sheet for 2 hours, then transfer them to an airtight container for up to 2 months.
Reheating for the Best Crunch: Skip the microwave to avoid a chewy pastry. Instead, place them in a 350°F oven for 5-8 minutes. This restores the crisp texture and warms the apple centers.
Reducing Waste: Keep your apple peels. I often store mine in the freezer to make a quick syrup or a fragrant tea. If you have plenty of leftover egg wash, it can be used to whip up a fast omelet.
How to Serve Them
These Apple Puff Tarts are great on their own, but a few pairings take them further. A scoop of vanilla bean ice cream is the classic move the cold cream against the hot cinnamon is just right.
For something a bit more a refined, serve them with a dollop of crème fraîche or a drizzle of salted caramel. If you're serving these for brunch, they pair beautifully with a strong black coffee or a hot Earl Grey tea.
Key Techniques Explained
The Secret to Flaky Layers
Puff pastry relies on lamination, which is simply the process of alternating layers of butter and dough. As they bake, the water in the butter turns to steam, lifting the dough to create the light, crisp texture that makes these Apple Puff Tarts so delightful.
The Importance of Sautéing
Apples are naturally quite juicy. Adding them raw means that moisture can seep into the pastry during the 20 minutes of baking. Sautéing them first converts that water into a concentrated syrup, which boosts the flavor and prevents a soggy base.
You are now ready to start baking. The satisfying snap of the golden pastry combined with the cooked filling is unbeatable. These Apple Puff Tarts are a fantastic option for anyone who enjoys easy sweet treats. Enjoy!
Recipe FAQs
Do I need to pre-bake the puff pastry before adding the apples?
No, you should not pre-bake. The pastry needs to rise and crisp up alongside the filling at 400°F (200°C) for the best texture.
Can gluten-free flour be used for these tarts?
Yes, provided you use a commercial gluten-free puff pastry alternative. Standard gluten-free flours cannot create the necessary laminated layers.
Why does my pastry have a soggy bottom?
Excess moisture from the apples is the most common cause. Let the apple mixture cool for 5 minutes before spooning it onto the cold pastry.
Is fruit conserve a good substitute for the apricot preserves?
Yes, a smooth fruit conserve works perfectly. Heat it slightly to make it easy to spread as a glaze.
What happens if I substitute shortcrust pastry for puff pastry?
The tarts will be denser and lack the signature flaky layers. If you enjoy the buttery crunch of a caramel brownie cheesecake, you might like this variation.
How to prevent the apple filling from leaking?
Score a smaller rectangle inside each piece about 1/2 inch from the edge. This creates a raised border that keeps the apples contained.
What is the secret to a professional glossy finish?
Brush warmed apricot preserves over the apples while the tarts are still hot. This creates the classic bakery sheen.
Is it true that puff pastry requires blind baking for tarts?
Actually, no. Puff pastry relies on steam to lift the layers, so baking it empty would ruin the structure.
Apple Puff Tarts